Key Takeaways
Up to **70%** of blow molding machine downtime is caused by preventable issues, according to **Plastics Technology** magazine.
Regular maintenance can reduce machine downtime by **35-50%** and extend the machine’s lifespan by **20-30%**.
The most common blow molding machine problems include parison defects, inconsistent wall thickness, and mold issues.
Apollo Machinery offers comprehensive training programs to help operators identify and resolve common machine problems quickly.
Introduction: The Importance of Troubleshooting in Blow Molding Operations
In the fast-paced world of manufacturing, downtime can be costly. For extrusion blow molding operations, even a few hours of downtime can result in significant production losses and missed deadlines. That’s why it’s essential for operators and maintenance personnel to be able to quickly identify and resolve common machine problems.
This article will provide a comprehensive guide to troubleshooting and fixing the most common problems of extrusion blow molding machines. We will cover everything from parison defects and inconsistent wall thickness to mold issues and electrical problems, with practical solutions and expert tips to help you keep your machines running smoothly.
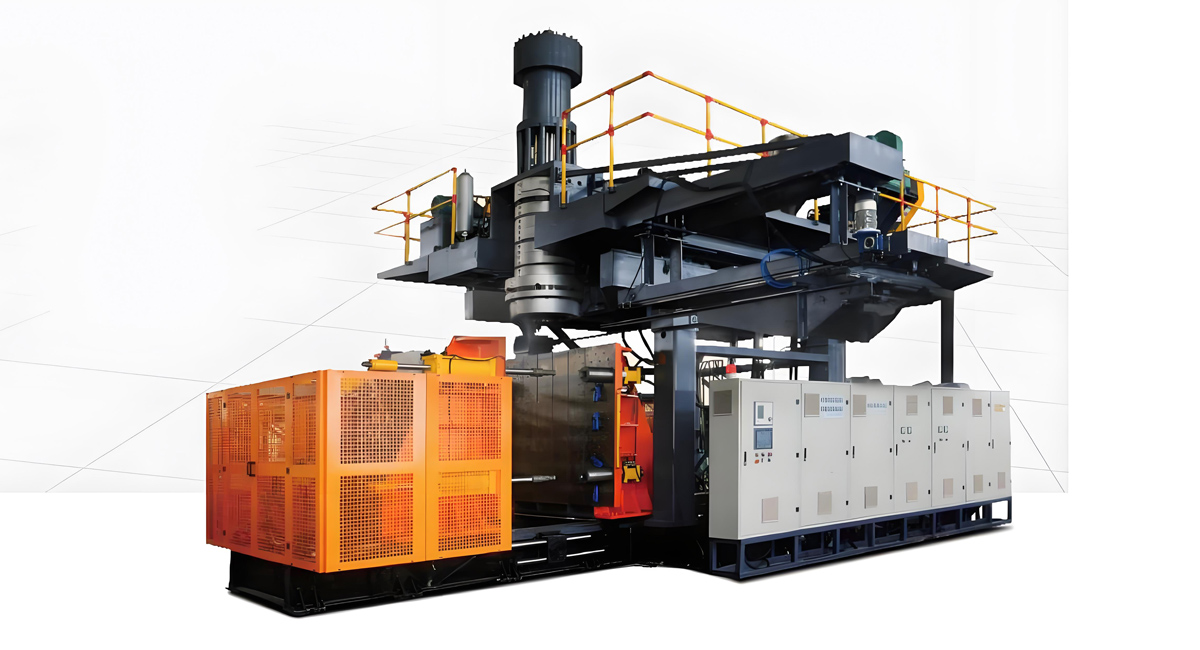
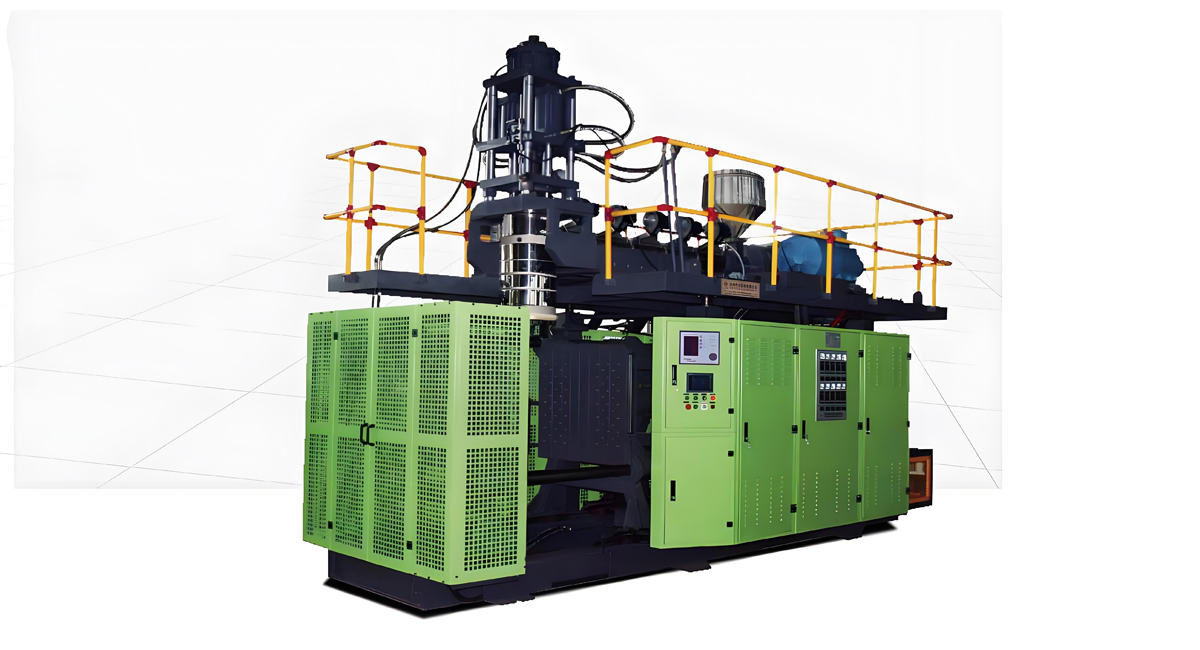
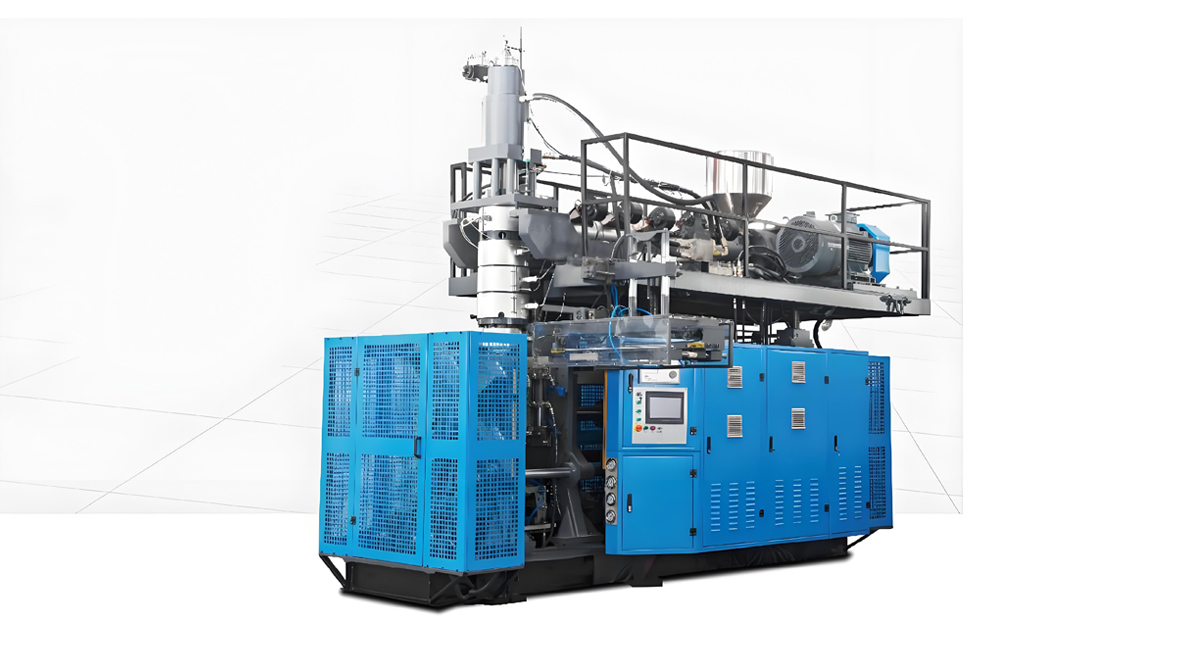
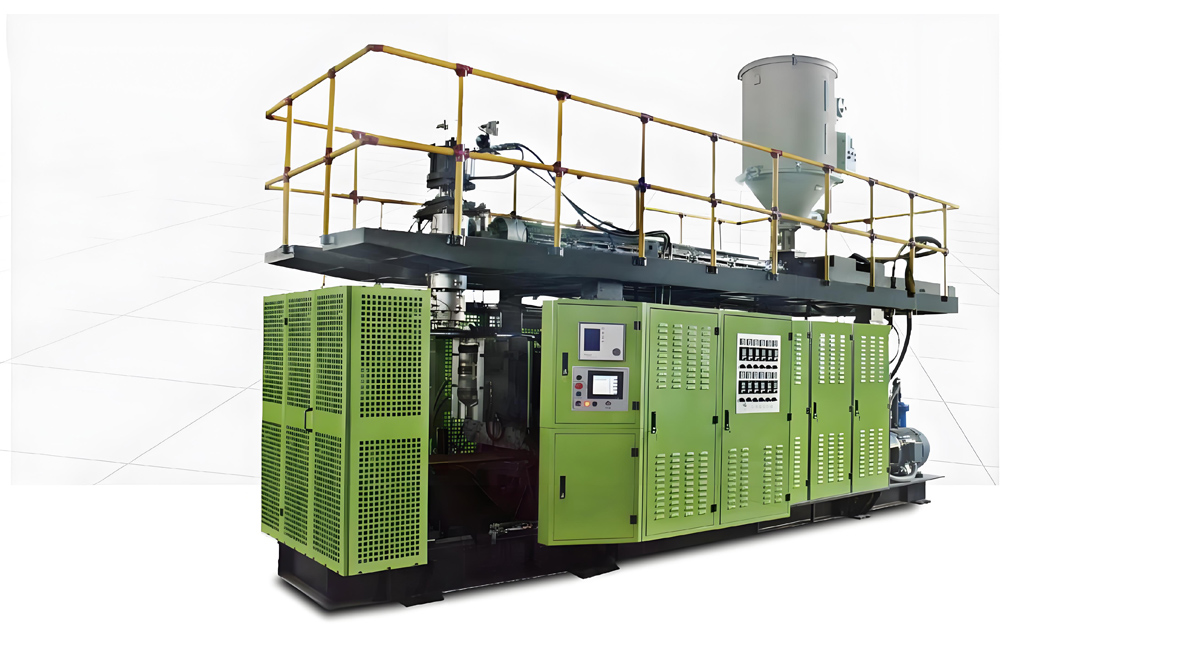
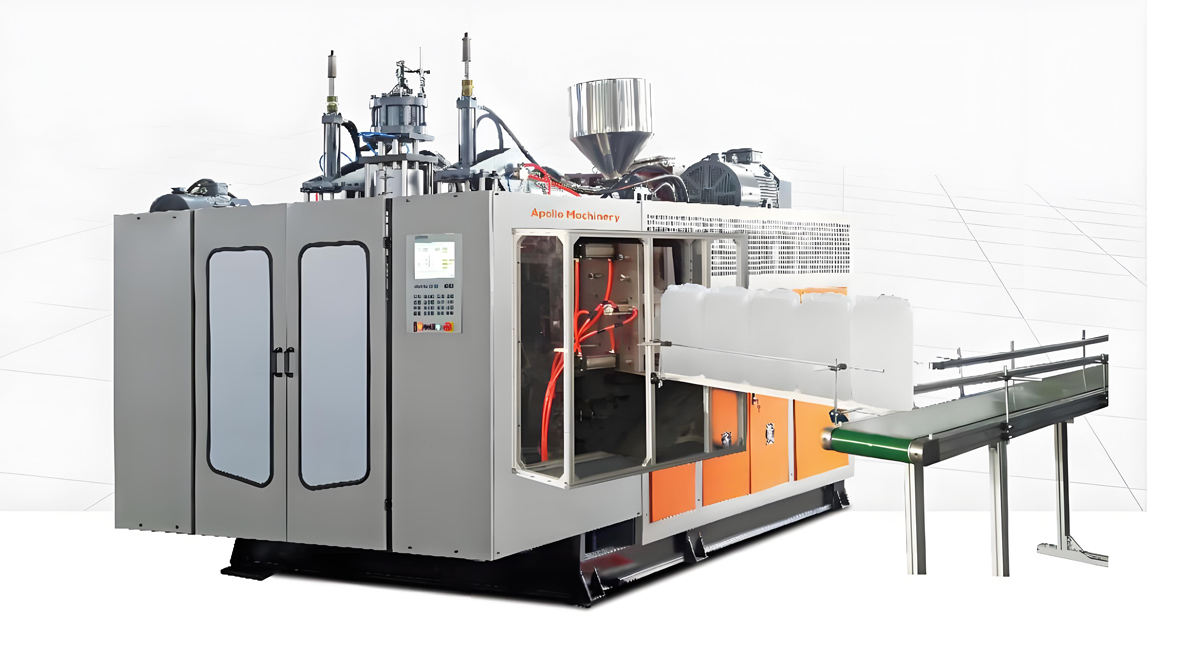
Understanding Extrusion Blow Molding Machine Components
Before we dive into troubleshooting specific problems, it’s important to have a basic understanding of the key components of an extrusion blow molding machine. This will help you identify the root cause of problems more easily and implement effective solutions.
1. Extruder
The extruder is responsible for melting and plasticizing the plastic resin. It consists of a barrel, a screw, a heating system, and a drive motor. The screw rotates inside the barrel, conveying the resin forward while melting it through a combination of heat and shear.
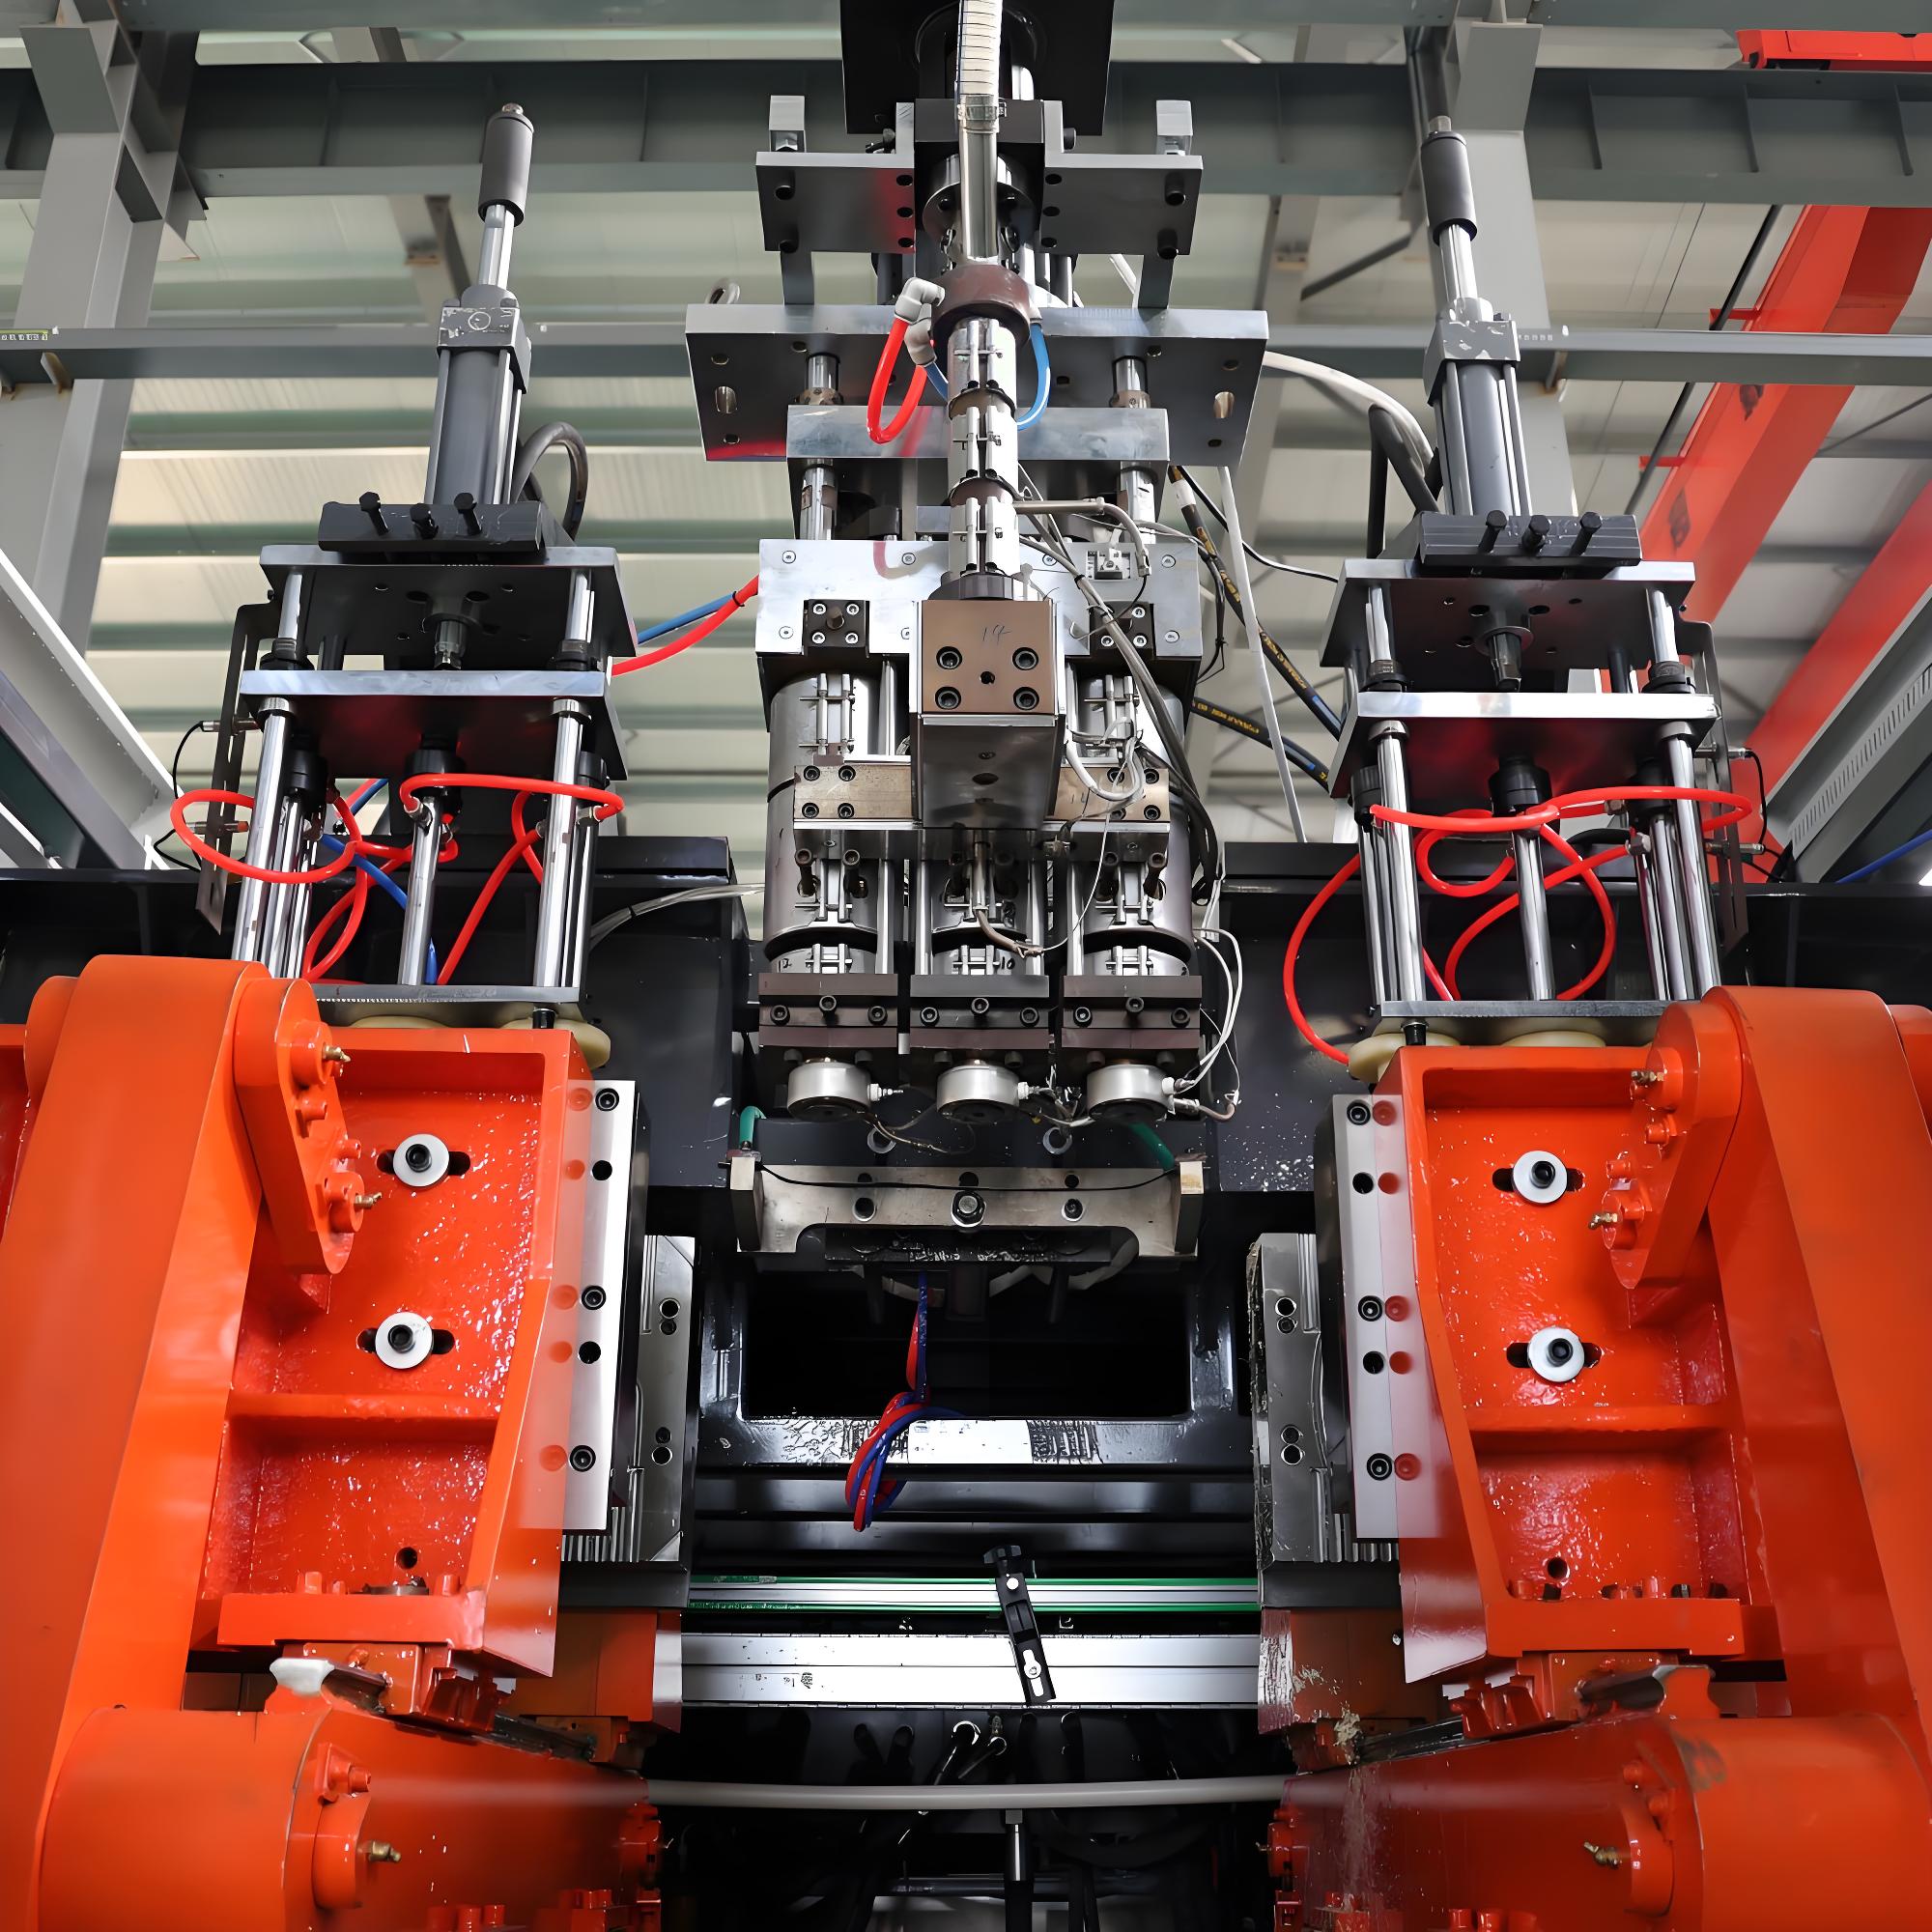
2. Die Head
The die head is where the molten plastic is formed into a hollow tube called a parison. The die head can be adjusted to control the thickness and diameter of the parison, ensuring that it meets the specific requirements of the product being manufactured.
3. Mold
The mold is used to shape the parison into the desired product. It consists of two halves that clamp together around the parison, forming a cavity that matches the shape of the product. Compressed air is then injected into the parison, inflating it to take the shape of the mold cavity.
4. Clamping Unit
The clamping unit is responsible for opening and closing the mold and applying the necessary force to keep it closed during the inflation process. It consists of a clamping frame, a moving platen, and a hydraulic or electric drive system.
5. Control System
The control system is the brain of the blow molding machine, managing all aspects of the production process, including temperature control, screw speed, mold opening and closing, and inflation pressure. Modern control systems typically feature touchscreen interfaces and advanced automation capabilities.
Common Extrusion Blow Molding Machine Problems and Solutions
Now that we have a basic understanding of the machine components, let’s take a look at the most common problems that can occur in extrusion blow molding operations and how to fix them.
Problem 1: Parison Defects
The parison is the hollow tube of molten plastic that is formed by the die head. Parison defects can cause a variety of problems, including inconsistent wall thickness, uneven inflation, and poor product quality.
Common Parison Defects
1. **Uneven Wall Thickness**: The parison has thicker or thinner sections in certain areas, which can cause the final product to have inconsistent thickness.
2. **Wavy Parison**: The parison has a wavy or irregular shape, which can make it difficult to clamp into the mold and inflate properly.
3. **Melt Fracture**: The parison has a rough or cracked surface, which can affect the appearance and quality of the final product.
4. **Parison Sagging**: The parison sags or droops as it exits the die head, which can cause it to touch the mold or other components before clamping.
Causes and Solutions
1. **Uneven Wall Thickness**:
– **Causes**: Incorrect die head settings, worn or damaged die head components, uneven temperature distribution in the extruder, or inconsistent resin feeding.
– **Solutions**: Adjust the die head settings to ensure uniform wall thickness, inspect and replace worn or damaged die head components, check and adjust the extruder temperature settings, and ensure that the resin is being fed consistently into the extruder.
2. **Wavy Parison**:
– **Causes**: Incorrect die head gap settings, uneven melt temperature, or excessive shear stress in the extruder.
– **Solutions**: Adjust the die head gap settings to ensure uniform flow, check and adjust the extruder temperature settings to ensure even melt temperature, and reduce the screw speed or adjust the screw design to reduce shear stress.
3. **Melt Fracture**:
– **Causes**: Excessive shear stress in the extruder, incorrect resin temperature, or contaminated resin.
– **Solutions**: Reduce the screw speed or adjust the screw design to reduce shear stress, check and adjust the extruder temperature settings to ensure proper resin melting, and ensure that the resin is clean and free of contaminants.
4. **Parison Sagging**:
– **Causes**: Low melt temperature, excessive parison length, or slow extrusion speed.
– **Solutions**: Increase the extruder temperature to improve the melt strength of the resin, reduce the parison length to minimize sagging, or increase the extrusion speed to reduce the time the parison is exposed to gravity.
Problem 2: Inconsistent Wall Thickness in Final Products
Inconsistent wall thickness is one of the most common problems in blow molding operations. It can affect the strength, durability, and appearance of the final product, and can also lead to material waste and production inefficiencies.
Causes and Solutions
1. **Incorrect Parison Programming**:
– **Causes**: The parison programming settings are not optimized for the specific product being manufactured.
– **Solutions**: Adjust the parison programming settings to ensure that the wall thickness is consistent throughout the product. This may involve adjusting the die head gap, the parison speed, or the inflation pressure.
2. **Worn or Damaged Mold**:
– **Causes**: The mold has worn or damaged sections that are causing the plastic to flow unevenly.
– **Solutions**: Inspect the mold for wear or damage and repair or replace any worn or damaged components. It’s also important to ensure that the mold is properly cleaned and maintained to prevent buildup of plastic residue.
3. **Inconsistent Inflation Pressure**:
– **Causes**: The inflation pressure is not consistent throughout the molding cycle, which can cause the plastic to stretch unevenly.
– **Solutions**: Check and adjust the inflation pressure settings to ensure that they are consistent throughout the cycle. It’s also important to ensure that the compressed air supply is clean and free of moisture.
4. **Uneven Mold Temperature**:
– **Causes**: The mold temperature is not consistent throughout the mold cavity, which can cause the plastic to cool at different rates and result in uneven wall thickness.
– **Solutions**: Check and adjust the mold temperature settings to ensure that they are consistent throughout the mold cavity. It’s also important to ensure that the mold cooling system is working properly and that there are no blockages or leaks.
Problem 3: Mold Issues
The mold is a critical component of the blow molding machine, and any issues with the mold can significantly affect the quality of the final product. Common mold issues include mold release problems, mold wear, and mold alignment issues.
Causes and Solutions
1. **Mold Release Problems**:
– **Causes**: The plastic is sticking to the mold, making it difficult to remove the finished product.
– **Solutions**: Apply a mold release agent to the mold surface to help the plastic release more easily. It’s also important to ensure that the mold is properly cleaned and maintained to prevent buildup of plastic residue. In some cases, it may be necessary to modify the mold design to improve release characteristics.
2. **Mold Wear**:
– **Causes**: The mold has worn or damaged sections due to repeated use.
– **Solutions**: Inspect the mold regularly for wear or damage and repair or replace any worn or damaged components. It’s also important to ensure that the mold is properly lubricated to reduce friction and wear.
3. **Mold Alignment Issues**:
– **Causes**: The mold halves are not properly aligned, which can cause the plastic to leak or the final product to have flash or other defects.
– **Solutions**: Check and adjust the mold alignment to ensure that the mold halves are properly aligned. It’s also important to ensure that the clamping unit is working properly and that there are no worn or damaged components that could affect alignment.
Problem 4: Electrical and Control System Problems
Modern extrusion blow molding machines are equipped with complex electrical and control systems that manage all aspects of the production process. Electrical and control system problems can cause a variety of issues, including machine downtime, inconsistent production, and safety hazards.
Causes and Solutions
1. **Faulty Sensors**:
– **Causes**: Sensors that monitor machine performance, such as temperature sensors, pressure sensors, or position sensors, are faulty or not working properly.
– **Solutions**: Inspect and test the sensors to identify any faulty ones and replace them as needed. It’s also important to ensure that the sensors are properly calibrated and that the wiring connections are secure.
2. **Control System Errors**:
– **Causes**: The control system is experiencing errors or malfunctions, which can cause the machine to operate incorrectly or stop working altogether.
– **Solutions**: Check the control system error codes to identify the specific issue and follow the manufacturer’s troubleshooting guide to resolve it. In some cases, it may be necessary to reset the control system or update the software.
3. **Electrical Wiring Issues**:
– **Causes**: The electrical wiring connections are loose, damaged, or corroded, which can cause electrical shorts or other problems.
– **Solutions**: Inspect the electrical wiring connections regularly and tighten or replace any loose, damaged, or corroded connections. It’s also important to ensure that the wiring is properly routed and protected to prevent damage.
4. **Power Supply Problems**:
– **Causes**: The machine is not receiving a consistent or adequate power supply, which can cause it to operate incorrectly or stop working.
– **Solutions**: Check the power supply to ensure that it is consistent and meets the machine’s requirements. It’s also important to ensure that the machine is properly grounded to prevent electrical hazards.
Problem 5: Hydraulic System Problems
Many extrusion blow molding machines use hydraulic systems to power the clamping unit, extruder, and other components. Hydraulic system problems can cause a variety of issues, including slow machine operation, inconsistent pressure, and leaks.
Causes and Solutions
1. **Low Hydraulic Fluid Level**:
– **Causes**: The hydraulic fluid level is low, which can cause the hydraulic system to operate inefficiently or not at all.
– **Solutions**: Check the hydraulic fluid level and add more fluid as needed. It’s also important to ensure that the hydraulic fluid is clean and free of contaminants.
2. **Hydraulic Fluid Contamination**:
– **Causes**: The hydraulic fluid is contaminated with dirt, water, or other contaminants, which can cause damage to the hydraulic system components.
– **Solutions**: Drain and replace the contaminated hydraulic fluid and clean the hydraulic system components. It’s also important to install and maintain proper filtration systems to prevent future contamination.
3. **Hydraulic Leaks**:
– **Causes**: The hydraulic system has leaks, which can cause a loss of pressure and reduce the efficiency of the system.
– **Solutions**: Inspect the hydraulic system for leaks and repair or replace any damaged seals, hoses, or fittings. It’s also important to ensure that the hydraulic system is properly maintained to prevent leaks from occurring in the first place.
4. **Faulty Hydraulic Pump**:
– **Causes**: The hydraulic pump is faulty or not working properly, which can cause the hydraulic system to operate inefficiently or not at all.
– **Solutions**: Inspect and test the hydraulic pump to identify any faults and repair or replace it as needed. It’s also important to ensure that the hydraulic pump is properly lubricated and maintained to extend its lifespan.
Preventive Maintenance: The Key to Reducing Machine Problems
While troubleshooting and fixing machine problems is important, the best way to minimize downtime and ensure consistent production is to implement a comprehensive preventive maintenance program. Preventive maintenance involves regularly inspecting, cleaning, and servicing the machine to prevent problems from occurring in the first place.
Benefits of Preventive Maintenance
1. **Reduced Downtime**: Preventive maintenance can reduce machine downtime by **35-50%** by identifying and resolving potential issues before they become major problems.
2. **Extended Machine Lifespan**: Regular maintenance can extend the machine’s lifespan by **20-30%** by reducing wear and tear on components.
3. **Improved Product Quality**: Preventive maintenance can help ensure that the machine is operating at peak efficiency, resulting in consistent product quality and reduced material waste.
4. **Lower Operating Costs**: By reducing downtime and extending the machine’s lifespan, preventive maintenance can help lower overall operating costs.
Key Components of a Preventive Maintenance Program
1. **Regular Inspections**: Schedule regular inspections of the machine to identify any potential issues, such as worn or damaged components, leaks, or loose connections.
2. **Cleaning and Lubrication**: Clean the machine regularly to remove plastic residue, dirt, and other contaminants, and lubricate moving components to reduce friction and wear.
3. **Component Replacement**: Replace worn or damaged components before they cause major problems. This may include replacing seals, bearings, belts, or other components.
4. **Calibration and Adjustment**: Regularly calibrate and adjust the machine’s components, such as the die head, mold, and control system, to ensure that they are operating correctly.
5. **Training and Education**: Provide training and education to operators and maintenance personnel to ensure that they understand how to properly operate and maintain the machine.
Apollo Machinery’s Preventive Maintenance Services
Apollo Machinery offers comprehensive preventive maintenance services to help clients keep their blow molding machines running smoothly. The company’s maintenance programs are designed to meet the specific needs of each client and can include:
– Regular inspections and servicing of machine components
– Replacement of worn or damaged components
– Calibration and adjustment of machine settings
– Training and education for operators and maintenance personnel
– Emergency repair services
Case Study: How Preventive Maintenance Reduced Downtime for a Packaging Manufacturer
To illustrate the benefits of preventive maintenance, let’s take a look at a real-world case study:
A leading packaging manufacturer in the United States was experiencing frequent downtime due to machine problems. The company’s extrusion blow molding machines were outdated and had not been properly maintained for several years, resulting in a high rate of breakdowns and production delays.
Apollo Machinery worked with the client to implement a comprehensive preventive maintenance program. The program included regular inspections, cleaning and lubrication of machine components, replacement of worn or damaged parts, and training for operators and maintenance personnel.
After implementing the program, the client experienced a significant reduction in downtime. Machine breakdowns were reduced by **60%**, and production efficiency increased by **25%**. The client also saw a reduction in material waste and an improvement in product quality.
In addition, the client benefited from Apollo’s emergency repair services, which ensured that any unexpected machine problems were resolved quickly, minimizing the impact on production.
Conclusion: Mastering Troubleshooting and Maintenance for Optimal Performance
Troubleshooting and fixing common problems of extrusion blow molding machines is an essential skill for operators and maintenance personnel. By understanding the key components of the machine, identifying the root causes of problems, and implementing effective solutions, you can keep your machines running smoothly and minimize downtime.
However, the best way to ensure optimal performance and reduce the risk of machine problems is to implement a comprehensive preventive maintenance program. By regularly inspecting, cleaning, and servicing your machines, you can prevent problems from occurring in the first place and extend the lifespan of your equipment.
Apollo Machinery is a trusted partner for blow molding machine maintenance and repair. With over 20 years of experience and a team of skilled technicians, the company offers comprehensive maintenance services to help clients keep their machines operating at peak efficiency. Whether you need regular maintenance, emergency repairs, or training for your staff, Apollo has the expertise and resources to meet your needs.
Contact Apollo today to learn more about its maintenance services and how they can help your business succeed.