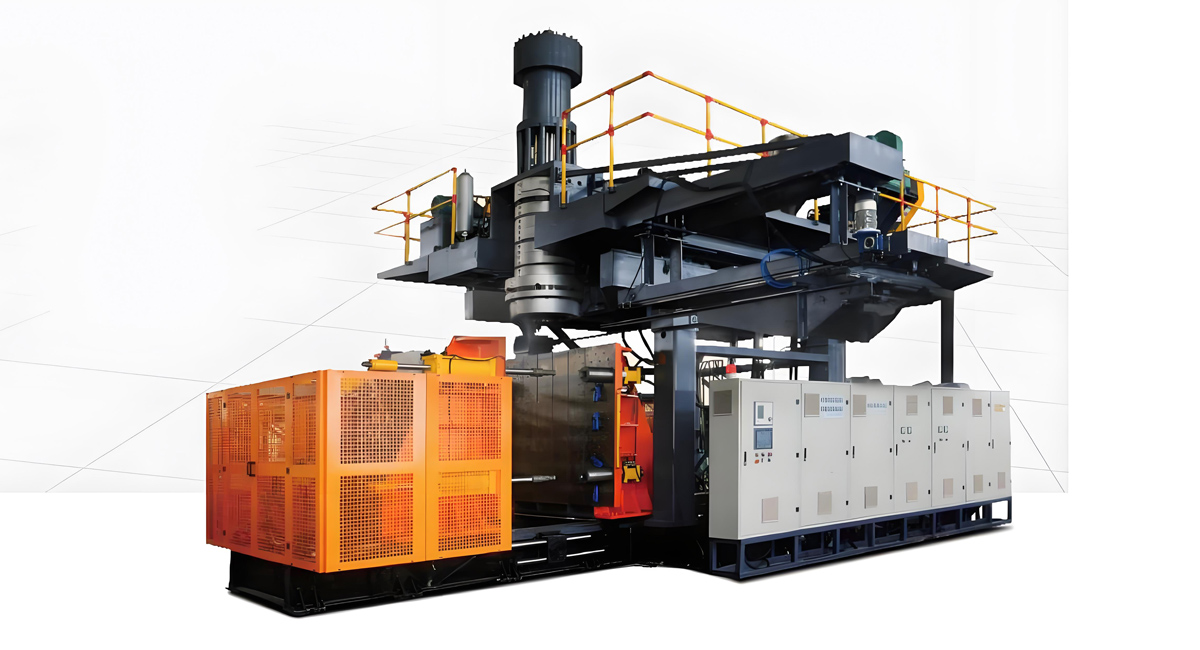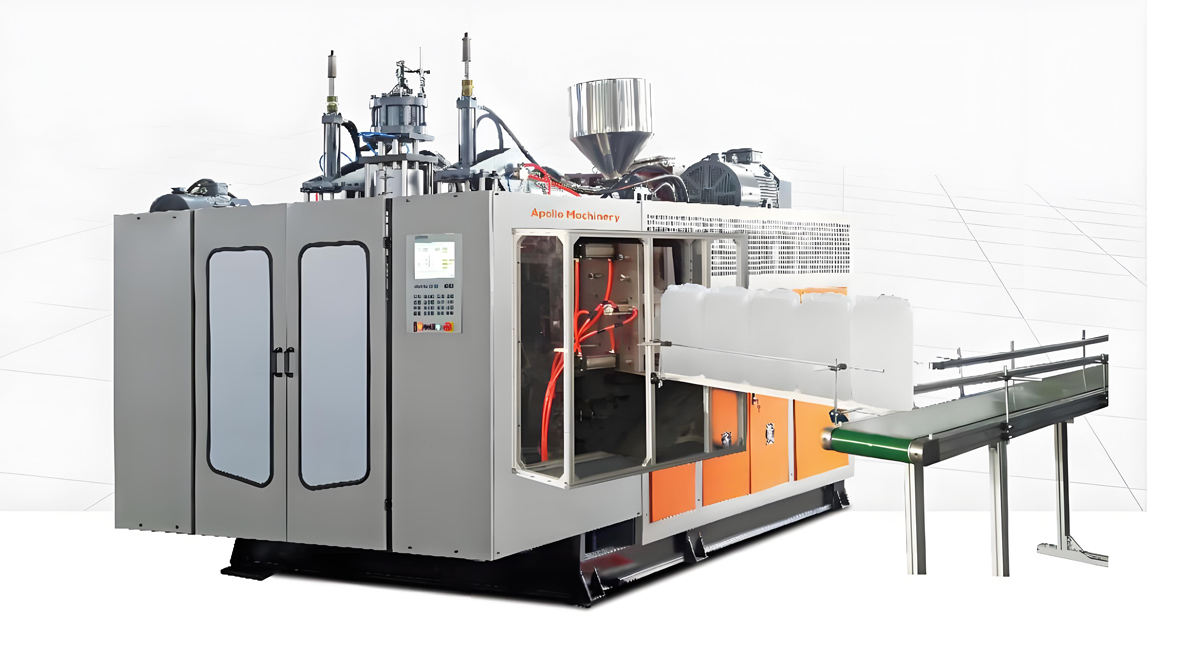

As core equipment for the production of plastic hollow products, mold replacement of extrusion blow molding machines is a key process to adapt to different product specifications and achieve production switching. The standardization and accuracy of mold replacement directly affect product quality, production efficiency, and equipment service life. The mold replacement of extrusion blow molding machines must follow a standardized process, which can be generally summarized as: Pre-replacement Preparation → Old Mold Dismantling → New Mold Installation → Commissioning and Verification → Maintenance. Each link is interrelated and indispensable. It should be specially noted that safety protection is not an independent process step but a core requirement throughout the entire replacement process. The following details the key points for mold replacement of extrusion blow molding machines from each process link and safety protection requirements.
I. Pre-replacement Preparation: Thorough Preparation is the Foundation for Efficient Replacement
Adequate preparation before mold replacement can greatly shorten downtime and avoid problems such as material waste and equipment damage during operation. The core points include the following three aspects:
1. Technical and Material Preparation
Firstly, it is necessary to clarify the specification parameters of the new mold (such as the number of cavities, cavity size, mold opening and closing stroke requirements), and confirm that it matches the parameters of the current extrusion blow molding machine, such as model, clamping force, and extrusion volume, to avoid installation failure or production faults caused by incompatibility between the mold and the equipment. At the same time, prepare the corresponding accessories for the new mold in advance, such as positioning pins, connecting bolts, seals, heating coils (if the mold needs heating), etc., and check the integrity and soundness of the accessories to ensure no missing, deformation or damage. In addition, prepare the corresponding raw materials in advance according to the process requirements of the new product, and adjust the raw material conveying system of the extruder to avoid residual raw materials affecting the quality of the new product.
2. Tool and Equipment Preparation
Prepare special tools required for mold replacement, including torque wrenches, hexagon socket wrenches, screwdrivers, hoisting equipment (such as cranes, forklifts, which should be selected according to the mold weight), cleaning tools (such as rags, air guns, cleaning agents), etc. Check the accuracy and usability of the tools; for example, the torque wrench should ensure accurate torque scale, and the hoisting equipment should check the firmness of steel wire ropes and hooks. At the same time, preprocess the extrusion blow molding machine: stop the supply of raw materials, empty the residual raw materials in the extruder, turn off the equipment heating system, and wait for the temperature of the barrel and machine head to drop to a safe range (usually not exceeding 50℃) to avoid high-temperature scalding or raw material adhesion to the mold.
3. Safety and Site Preparation
Clean the site of the mold replacement area to ensure unobstructed passages and no obstacles blocking hoisting and operation. Set up safety warning signs around the equipment to prohibit non-operators from entering the operation area. Operators must wear complete safety protective equipment, including safety helmets, high-temperature resistant gloves, non-slip shoes, etc., to avoid collisions, scalds or slips during operation. In addition, cut off the main power supply, hydraulic system power supply and compressed air source of the extrusion blow molding machine in advance, and release the residual pressure in the system (such as hydraulic oil pressure, air pressure) to prevent dangerous situations caused by accidental equipment start-up or pressure impact.
II. Old Mold Dismantling: Precise Operation to Avoid Equipment and Mold Damage
The core of old mold dismantling is “smoothness, precision and no damage” to avoid mold deformation and damage to equipment connection parts caused by improper operation. The specific points are as follows:
1. Mold Cleaning and Condition Inspection
Before dismantling, first clean the residual plastic, dust and oil on the surface of the old mold with an air gun and rag, especially key parts such as the cavity, parting surface and exhaust groove, to avoid residual materials jamming or scratching the mold during dismantling. At the same time, check the service condition of the old mold, record whether there are wear, cracks, seal aging and other problems of the mold, and provide a basis for subsequent mold maintenance.
2. Step-by-step Dismantling of Connecting Parts
Dismantle in the order of “auxiliary first, then core; peripheral first, then main body”. First, remove auxiliary parts such as heating coils, temperature sensors and cooling water pipes on the mold. When removing, pay attention to marking the connection positions of the pipelines to avoid confusion in subsequent installation. Then remove the connecting bolts and positioning pins between the mold and the clamping mechanism and moving template. When removing the bolts, use a matching torque wrench and adopt a symmetrical and uniform dismantling method (such as loosening diagonally first, then completely removing step by step) to prevent mold deformation or damage to the equipment connection surface caused by uneven stress on the mold. If the bolts are rusted or stuck, apply a small amount of rust remover to assist dismantling; violent knocking is strictly prohibited.
3. Smooth Hoisting of Old Mold
After dismantling, use hoisting equipment to hoist the old mold smoothly. Before hoisting, confirm the lifting point position of the mold to ensure that the hook is accurately aligned with the lifting point, and avoid mold tilting and falling caused by oblique hoisting. During hoisting, the operator must guide the whole process, control the hoisting speed, and avoid the mold colliding with the equipment, the ground or other objects. Hoist the old mold to the designated storage area, and place a soft pad (such as a rubber pad, wooden board) under the mold when placing it to avoid scratches on the mold cavity caused by direct contact between the mold and the ground, and do a good job in dust and moisture protection of the mold.
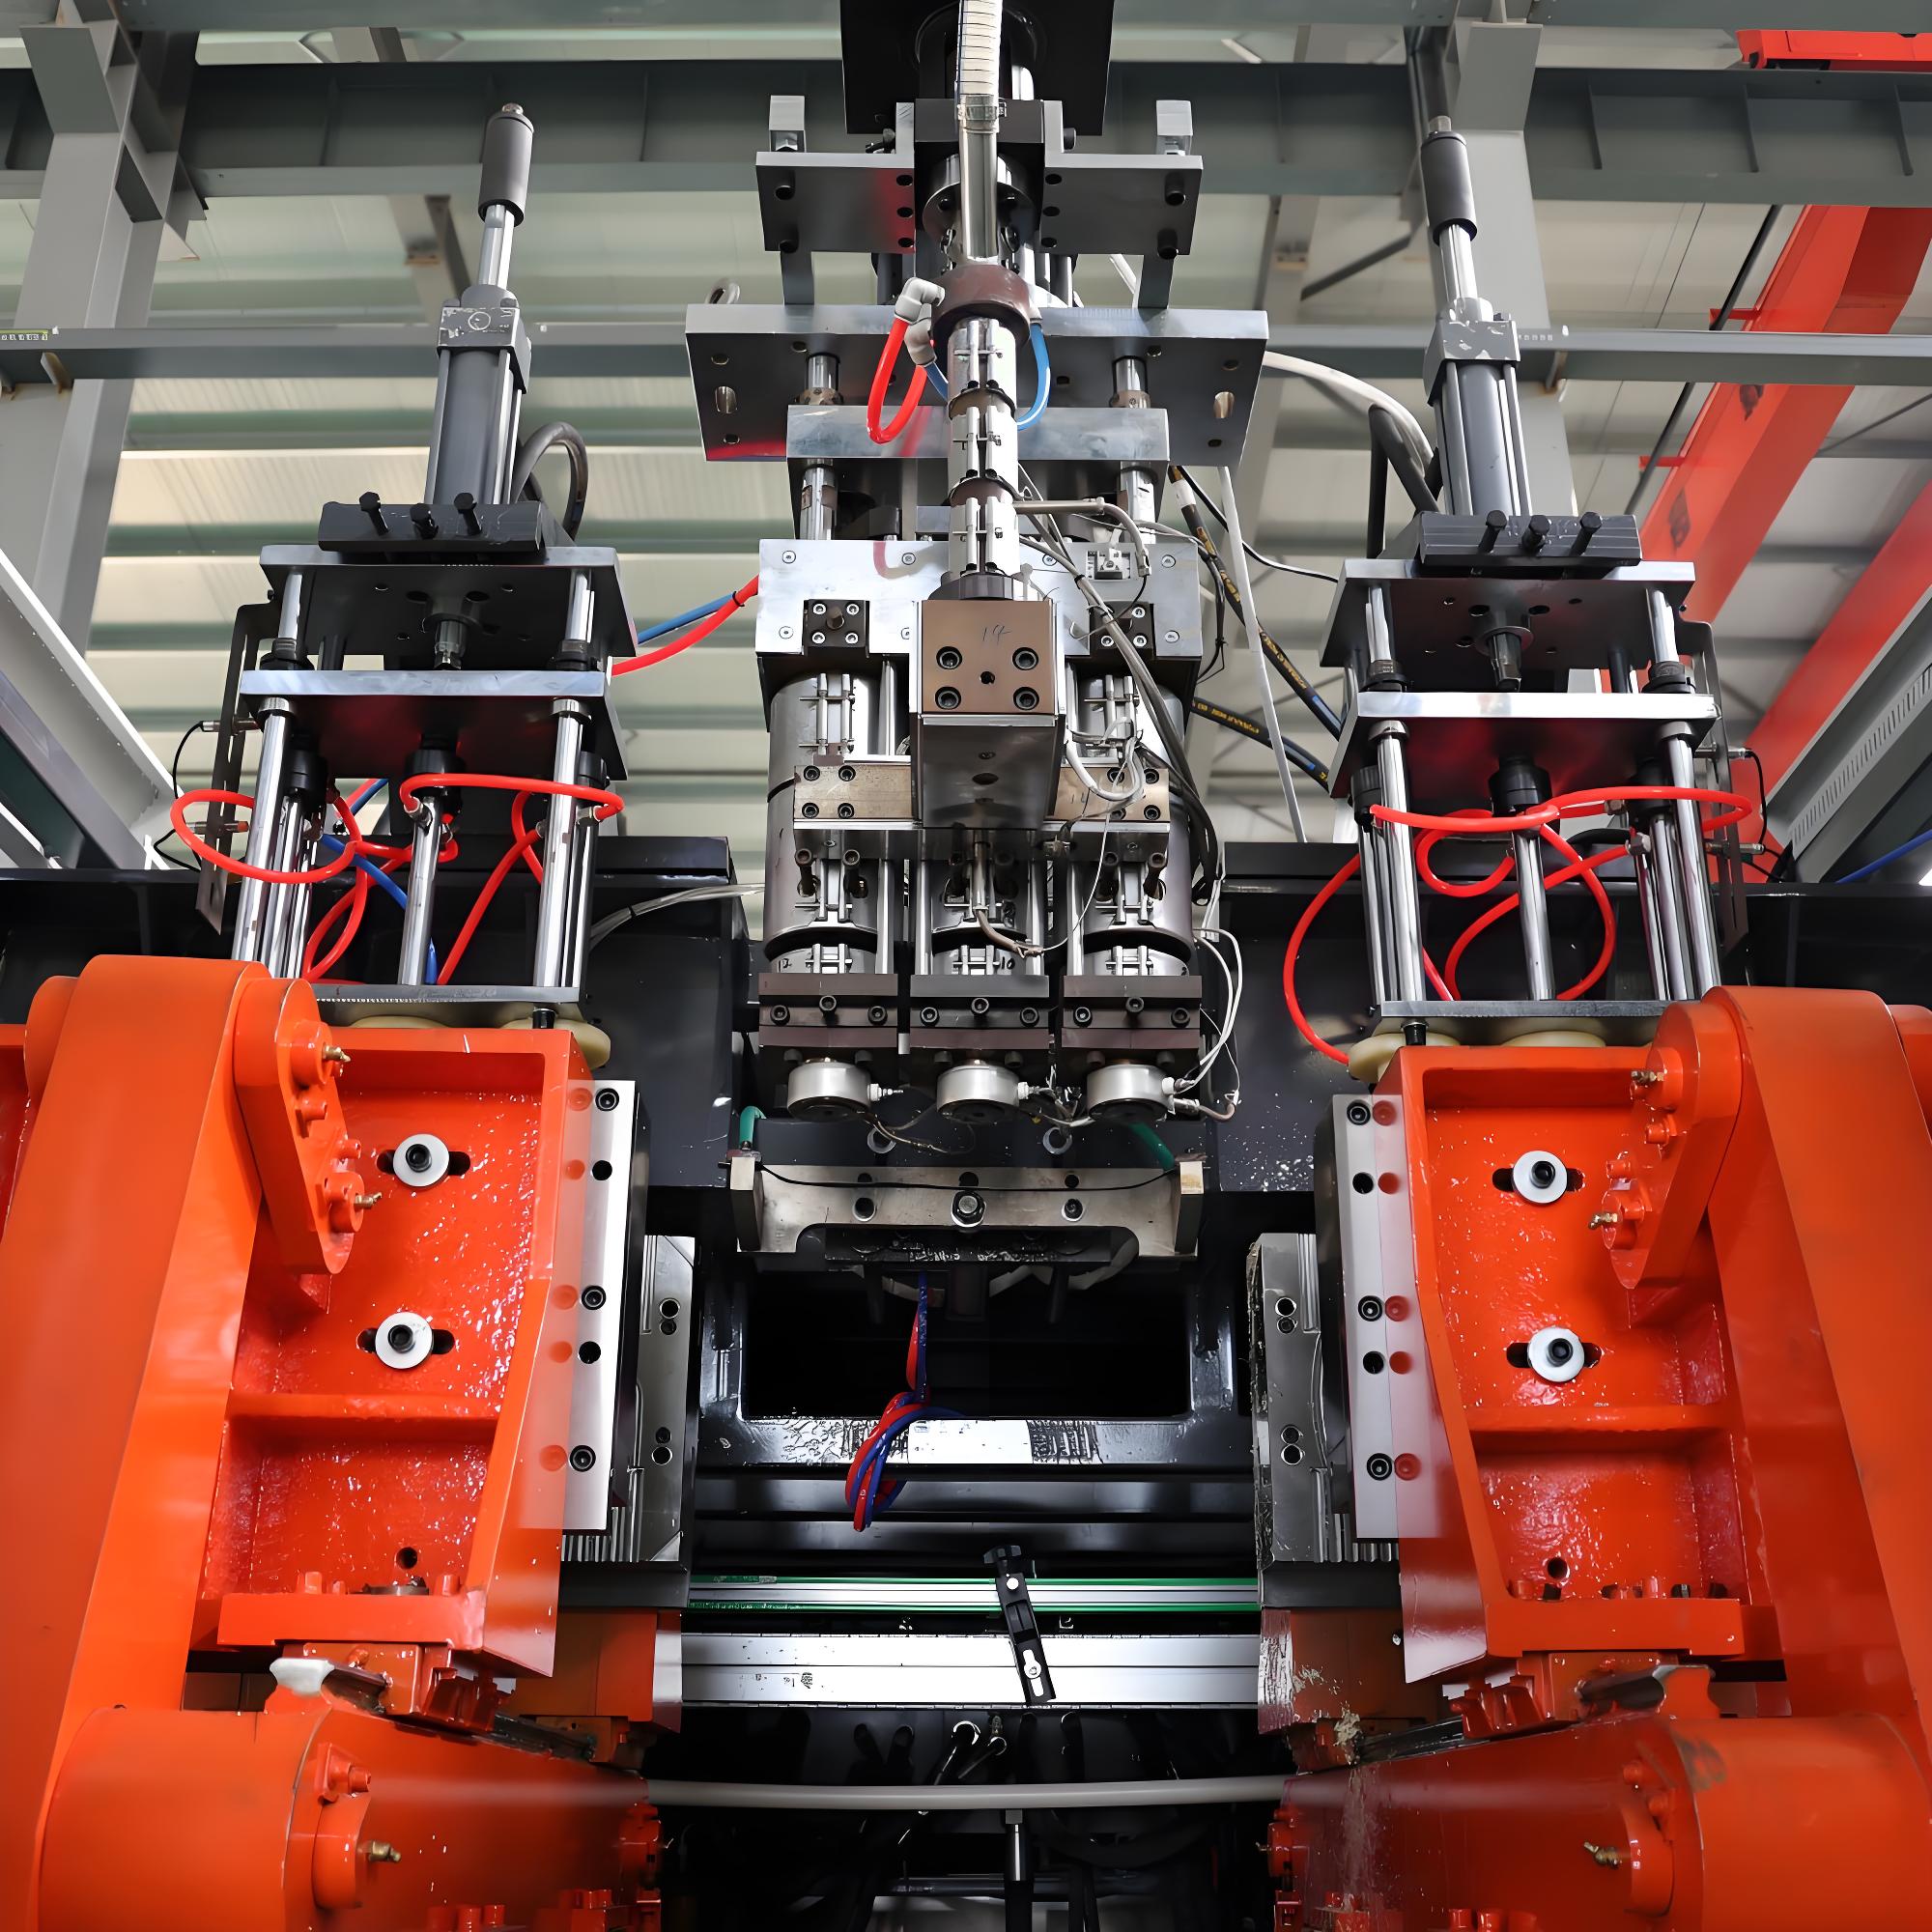
III. New Mold Installation: Precise Alignment is the Key to Ensuring Product Quality
The installation of the new mold must strictly follow the principles of “precise alignment, uniform fastening and standardized connection” to ensure perfect fit between the mold and the equipment. The specific points are as follows:
1. Cleaning of Mold and Equipment Connection Surfaces
Thoroughly clean the installation surface and positioning holes of the new mold, as well as the connection surfaces of the moving template and fixed template of the extrusion blow molding machine with cleaning agent and rag to remove oil, dust and impurities on the surface. If there are scratches or protrusions on the connection surface, gently grind them flat with fine sandpaper (avoid excessive grinding affecting the plane accuracy) to ensure that the connection surface between the mold and the equipment is closely fitted without gaps, preventing material leakage, mold vibration and other problems during production.
2. Precise Hoisting and Alignment
Hoist the new mold between the equipment templates by hoisting equipment, adjust the height and angle of the mold to make the positioning holes of the mold accurately aligned with the positioning pins on the equipment templates. During alignment, the moving template of the equipment can be manually fine-tuned (ensure the equipment is in a pressure-free state) to assist alignment. Forcing the mold to align is strictly prohibited to avoid damage to the positioning pins and positioning holes. After alignment, gently lower the mold to make the mold installation surface fit the equipment template.
3. Standard Fastening and Accessory Connection
First, install the positioning pins to ensure that they are completely inserted into the positioning holes to play a precise positioning role. Then install the connecting bolts. The bolt installation must follow the principle of “symmetrical and uniform fastening”. First, install temporary fixing bolts diagonally. After adjusting the mold position correctly, gradually replace them with formal bolts, and fasten them with a torque wrench according to the torque value specified in the equipment manual (excessive torque is likely to cause bolt breakage or mold deformation, while insufficient torque cannot ensure firm connection). After fastening, check whether the mold is tilted or offset, and ensure that the mold center is aligned with the extruder head center. Subsequently, connect the auxiliary parts such as the heating coil, temperature sensor and cooling water pipe of the mold, and connect them according to the marks made during dismantling to ensure that the pipelines are firmly connected without leakage, and the wires are correctly connected with good insulation.
IV. Commissioning and Verification: Comprehensive Inspection to Ensure Stable Production
After the installation of the new mold, systematic commissioning and verification are required to avoid unqualified products or equipment faults caused by direct mass production. The core points include the following three aspects:
1. No-load Commissioning
Connect the equipment power supply, hydraulic system and compressed air source, and start the equipment for no-load operation. During commissioning, focus on observing whether the mold opening and closing actions are smooth and unobstructed without jamming or abnormal noise; check whether the clamping force reaches the set value and whether the mold parting surface is closely fitted; verify whether the cooling water circuit is unblocked without water leakage; check whether the heating coil works normally and whether the mold temperature can stably reach the set value. If any abnormality is found, stop the machine immediately for troubleshooting, and proceed with subsequent commissioning after adjustment.
2. Trial Production Commissioning
After the no-load commissioning is qualified, conduct trial production. Set process parameters such as extrusion temperature, extrusion speed, mold opening and closing speed, blowing pressure and cooling time according to the process requirements of the new product. Start the extruder, and carry out trial blow molding after the raw materials are plasticized uniformly. After taking out the trial products, focus on checking the following indicators: whether the product size meets the design requirements (such as diameter, height, wall thickness uniformity); whether the product appearance is intact without defects such as material shortage, flash, bubbles and scratches; whether the physical properties of the product (such as tensile strength, impact strength, sampling test if necessary) meet the standards. If there are problems, adjust the process parameters or mold position targetedly, and conduct repeated trial blow verification until the product quality is qualified.
3. Production Stability Verification
After the trial products are qualified, carry out small-batch continuous production (usually 50-100 pieces) to verify the stability of the production process. During this period, continuously monitor the mold temperature, equipment operation status and product quality consistency. If there is any abnormal fluctuation, timely troubleshoot and solve the problem. At the same time, check the exhaust effect of the mold. If the product has problems such as bubbles and material shortage, it may be that the exhaust groove is blocked or the design is unreasonable, and the exhaust groove needs to be cleaned or optimized in time.
V. Full-process Safety Protection Points: Controlling Risks to Avoid Accidents
The whole process of mold replacement involves risk points such as equipment operation, hoisting operation and high-temperature contact. Safety protection must run through the whole process. The core points are as follows:
- It is strictly prohibited to carry out dismantling operations when the equipment is not completely powered off and depressurized, so as to avoid extrusion and shear injuries caused by accidental equipment start-up.
- During hoisting operations, professional operators must operate the hoisting equipment to ensure that there are no unrelated personnel in the hoisting area, and oblique hoisting and overloading hoisting are strictly prohibited.
- Operators must wear complete safety protective equipment to avoid high-temperature scalds, material adhesion to the skin or mold collision injuries.
- If multiple people need to cooperate during mold replacement, clear division of labor and good communication are required to avoid dangers caused by operational errors.
- During commissioning, it is strictly prohibited to put hands, tools, etc. into the mold opening and closing area to avoid extrusion injuries.
VI. Maintenance: Extending the Service Life of Molds and Equipment
After the mold replacement is completed, subsequent maintenance work must be done well:
- Comprehensively clean and inspect the dismantled old mold. If there are wear, cracks and other problems, repair them in time; apply lubricating oil to the moving parts such as guide pillars and guide sleeves of the mold, and store them in the designated area after doing a good job in rust and dust prevention.
- Regularly inspect the moving parts and connecting parts of the new mold, and supplement lubricating oil in time to ensure smooth operation of the mold; regularly clean the residual materials in the mold cavity and exhaust groove to avoid material accumulation affecting product quality.
- Inspect the connecting bolts, positioning pins, hydraulic system, pneumatic system, etc. of the equipment to ensure that the equipment is in good operating condition; regularly calibrate tools such as torque wrenches to ensure operational accuracy.
In summary, the mold replacement of extrusion blow molding machines must strictly follow the core principles of “sufficient preparation, smooth dismantling, precise installation, comprehensive commissioning and proper maintenance”, and at the same time, integrate safety protection throughout the whole process. Precise control of each link can realize efficient and stable production switching, ensure product quality, and extend the service life of molds and equipment.