不具合のトラブルシューティングが EBM の収益性を定義する理由
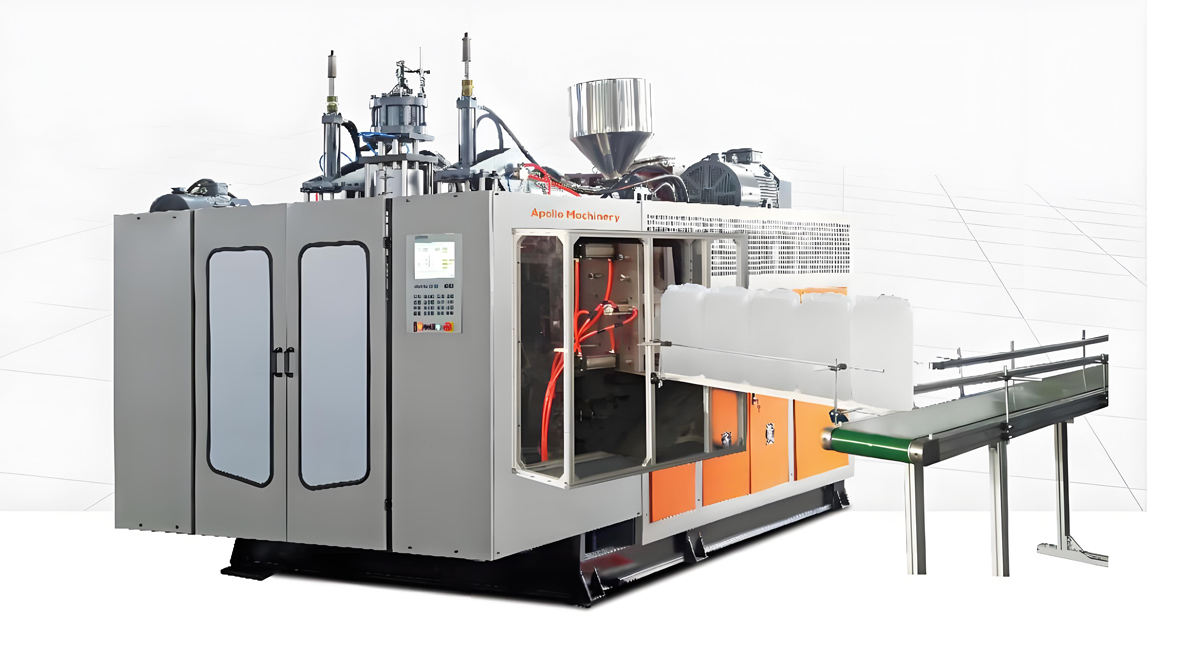
ワンプラスの工場であるアポロは、上海の近く、張家港にある8,000平方メートルの工場で、20年以上にわたりEBM機を製造しています。現在、4,000機以上の機械が90を超える国々で稼働しています。この分野での経験からすると、EBMラインの制御可能なコストの中で、最大の問題は樹脂や電力ではなく、生産品の不具合が繰り返されることによるスクラップ率です。96%の一次生産率で製品を出荷するブローモールディングラインは、82%のラインに比べ、様々な樹脂と同じサイクル時間を使用したときでも、大幅に高い利益率を実現します。本ガイドは、工場エンジニア、工具設計技術者、生産マネージャーが、不具合の兆候をすばやく根本原因に変えるために、数値化可能な構造を利用することで、推測ではなく、徹底した分析を可能にします。
必ず以下の形式に従ってください。「1. 翻訳」と記入し、その他の記述は一切不要です。
この記事では、各一般的な欠陥について、同じ五つの構造を用いて説明します。欠陥の現象、部品に見られる視覚的特徴、素材、プロセス、金型、設備、環境による原因分類、矯正対策を高速から緻密にまで整理した順序、欠陥の再発を防ぐ予防策が記載されています。すべての欠陣について同じ構造を用いることで、シフトチームは共通の考え方を身に付け、新しいオペレーターの学習曲線を短縮することができます。この枠組みは、機械に依存しないものですが、このガイドの後期に掲載する製品モジュールでは、アポロのABLB、ABLD、そして完全な電動シリーズが最も重要なパラメーターに対するコントロールをより厳密に行えることをご確認いただけます。
パラメーターを変更する前に、現在のプロセスを基準としてロックし、実際の値を記録して、一度に一つの変数を変え、明確な先後関係の測定値を入力してください。 測定は、薄い箇所の磁気厚みゲージ読み取りやドロップテストの合格数など、単純なものでも構いませんが、必ず記録してください。日付、材料ロット、機械、キャビティ、パラメーターの変更、測定結果を収集するトラブルシューティングログは、EBM工場が稼働可能な最も安価な品質システムで、本ガイドの最後で説明する統計的プロセス制御ポイントの基礎になります。
統合診断フレームワーク
このガイドの各欠陥は、500ミリリットルの洗剤ボトルか1,000リットルの中間ボンベを処理した場合でも、同じ理論が適用されるように、単一のレンズで分析されています。レンズには5つの層があり、調査の順序が重要です。なぜなら、もう片方に問題がなければ、最も安価な修正をまず試したほうが良いからです。
最初の層:材料
材料に関する問題には、部品の融融率が間違っている、リグレイン率が過剰である、樹脂に水分が含まれている、ペレットが汚染または劣化している、色マスターバッチの分散状態が不良であるなどがあります。材料は比較的安価で検証できる層なので、サンプルを抽出してオフラインで検査でき、入荷ロット記録を確認することで多くの情報を得ることができます。
レイヤー2: 設備運用状況
プロセスは、大気温度、樹脂ロット、作業者による調整により変化するため、差し移りの最も一般的な原因であり、多くの場合に最大の成果が見られます。
第3層:成形機
金型の問題には、引き抜きナイフの劣化、空洞面の破損、冷却チャネルの詰まり、吹き当てのずれ、空気抜き性能の悪さなどがあります。多くの場合、金型の問題は、漂つことよりも安定しており、同じ空洞が常に破損する一方で、姉妹空洞はきれいに形成されています。
4層目:機材
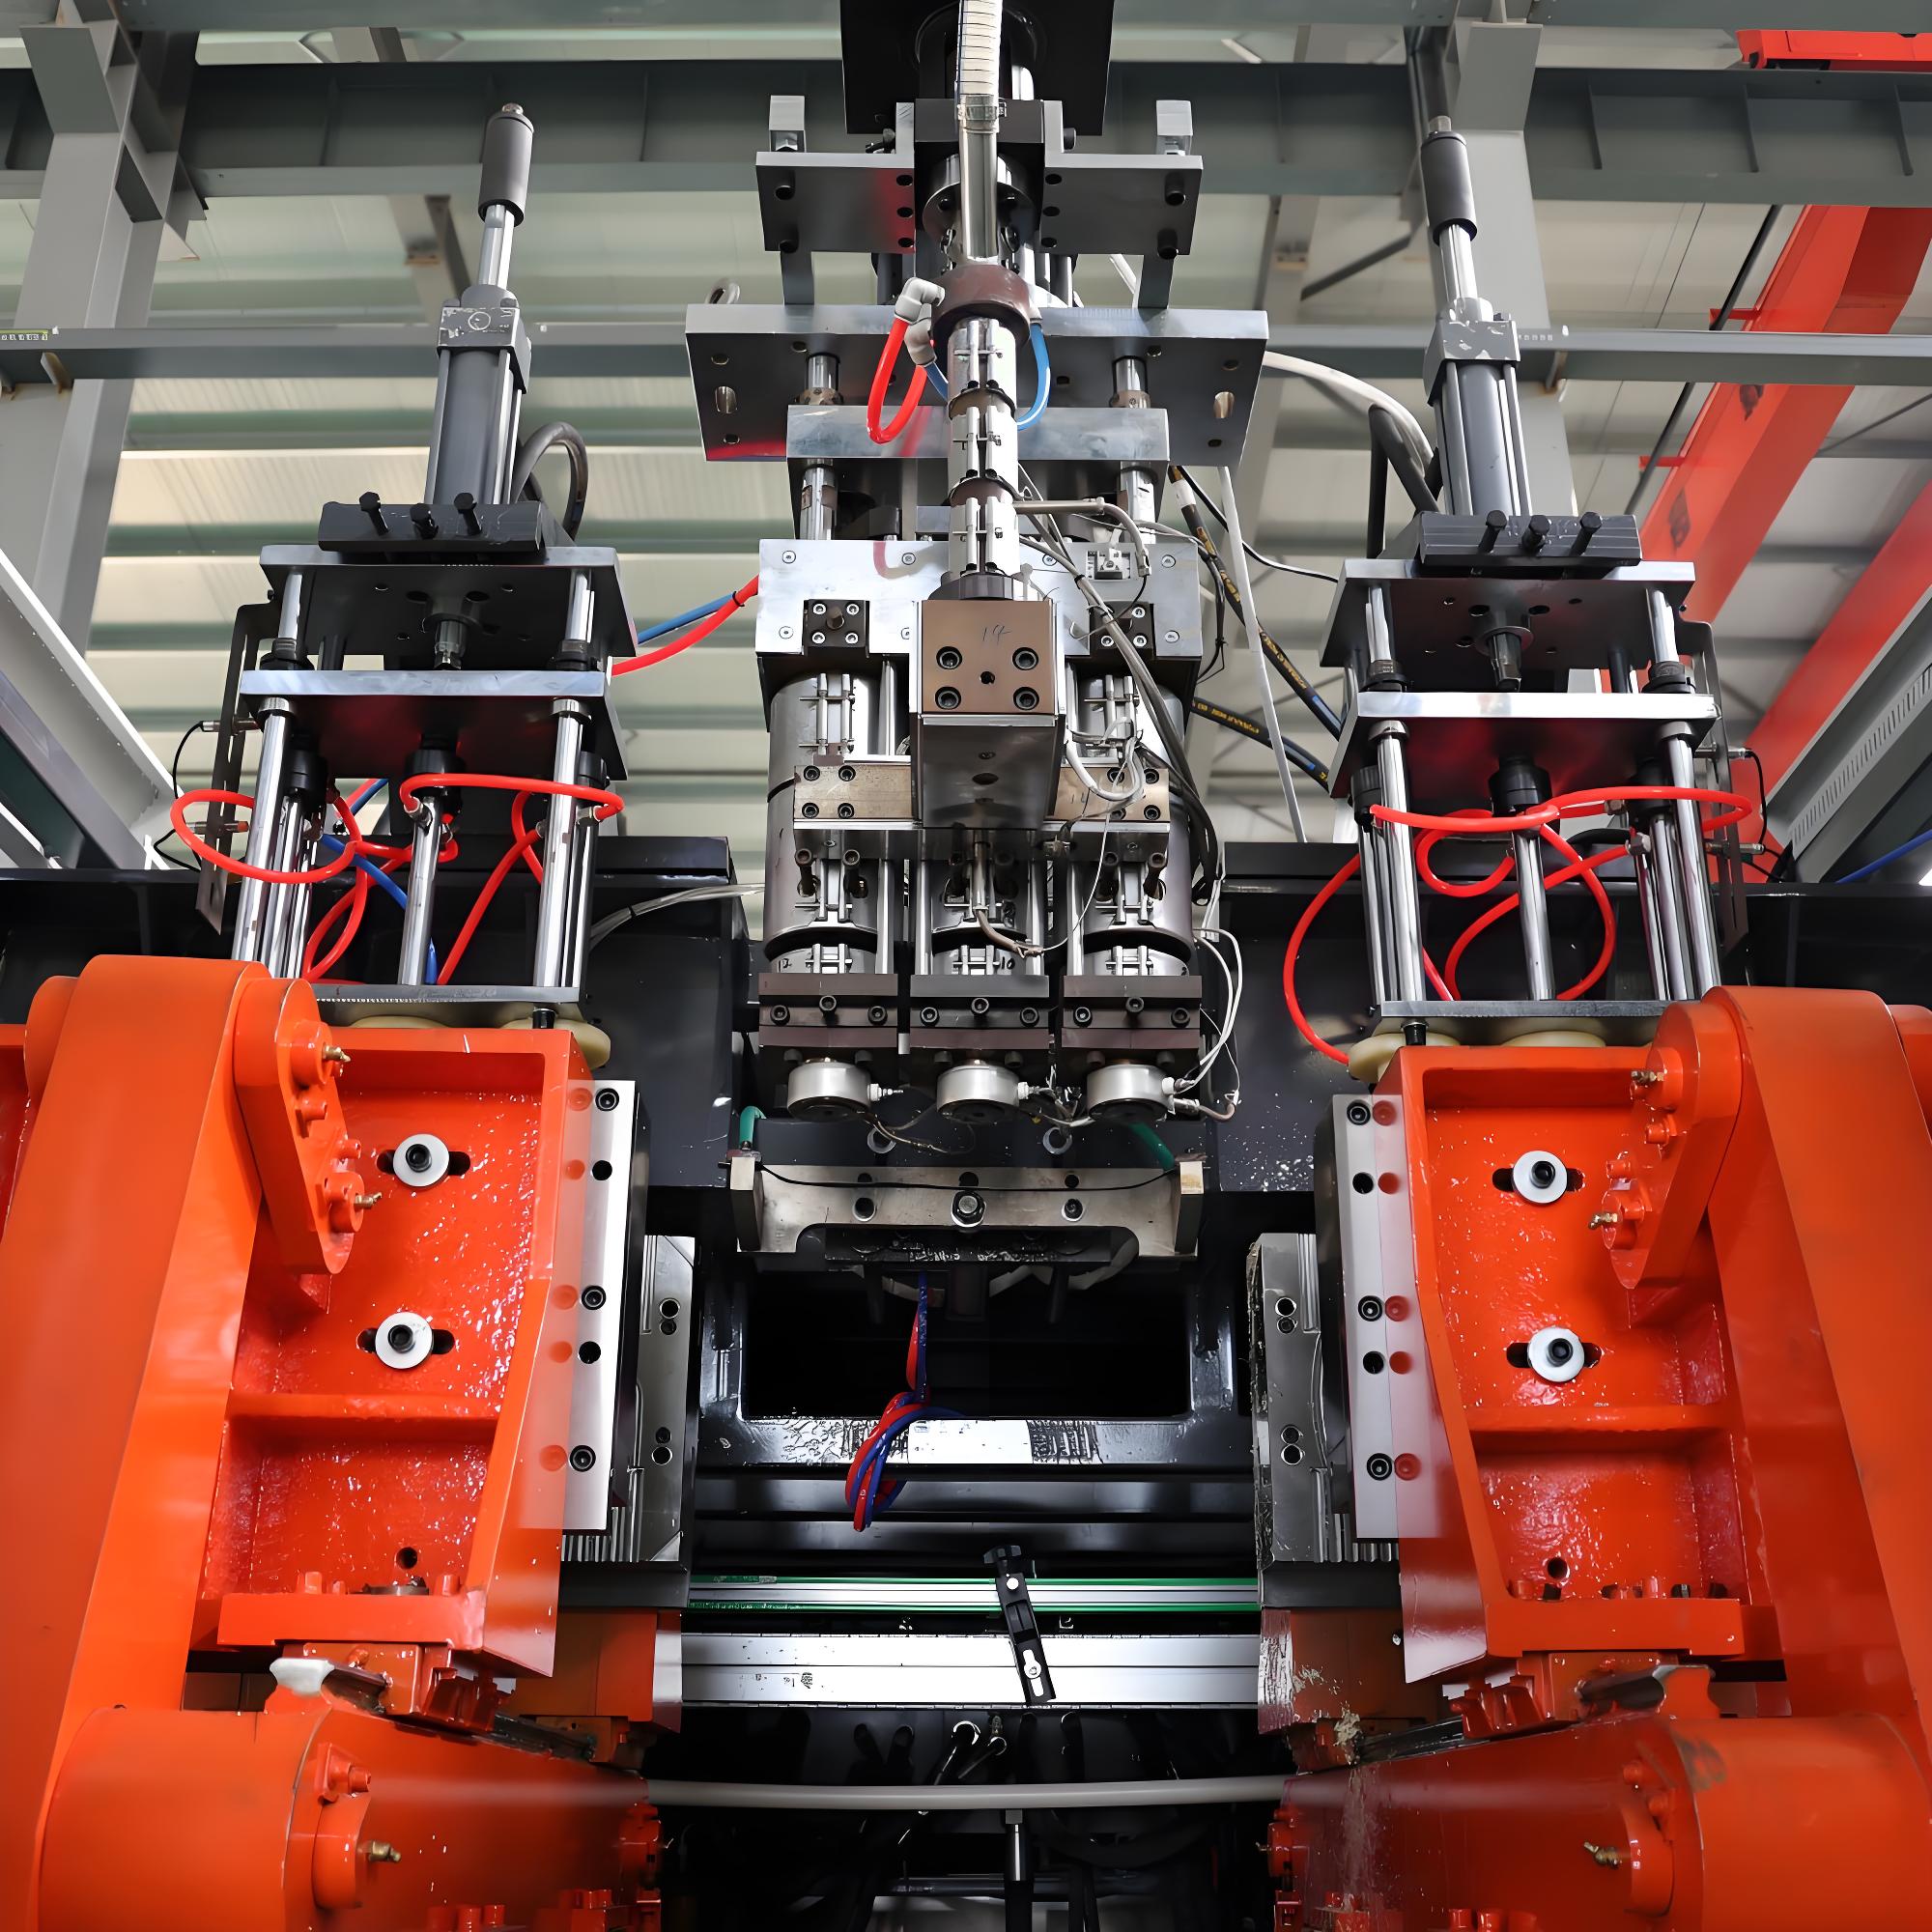
設備に関わる問題には、エクストラクターのバレルとスレーブの摩耗、ダイヘッドの同心度、アキュムレータの性能、締め付け力の正確さ、そして油圧やセボ機構の安定性が挙げられます。設備に関する問題は、全てのキャビティで緩やかな変化を示す場合や、メンテナンス後に急に変化する場合もあります。
層番号 5:環境
環境とは、製造所の温度と湿度、品物横切りの流し、冷却水の温度と品質、圧縮空気の清浄度を表します。環境は簡単に忘れられてしまいやすいものですが、季節ごとの工場では配筋へのまなざしや表面の不具合の頻繁な原因となります。
5つの層をチェックリストとしてではなく階層として利用します。漂うような欠陥では、まずプロセスと装置から、材料の変更後に現れる欠陥では、まず材料から、ひとつのキャビティでのみ現れる欠陣では、まず金型から検討を始めます。本ガイドの後半にあるトリアージフローは、その論理を3つの簡単な質問にまとめています。
壁の厚みが均一でない
エクストラクションブロー成形で最も一般的で最もコストのかかる欠陥は、性能と外観の両方を同時に劣化させる均一でない壁厚です。片方の肩が薄いために、一部はうまく見えるが落下テストに不合格になることがあるか、一方が重いが他方が軽いために醜く見えることがあるかもしれません。壁厚のばらつきはマグネット厚さ測定器またはスライス・・・・
視覚的特徴
部品には厚い面と薄い面、底面が太くトップが薄い、またはコーナーや肩部のコンパクト化などの存在感を示すところがあります。透明なボトルではその違いを直接見ることができますが、不透明なパーツでは重量を計測したりカットしたりしてのみその違いを発見します。重量のある側面はシンクマークや冷却時間の延長を引き起こし、その結果生産量が低下します。
各層ごとの根本原因を特定する。
材料:部品質量に合わないほど高い溶融流動度は、重さで引き伸ばされるパライソンを不均一にします。プロセス:パライソンの厚さプログラムに少なすぎるポイントまたはタイミングが間違っているため、チューブは薄いところが太くなります。金型:不均勻な冷却で、片方のシートは凍結しながら、もう一方が引き伸ばされ続けます。設備:ダイス隙間の偏心性とヘッド温度のゾーン偏差がプラスまたはマイナス 2 度以上であると、局所的な壁が変化します。環境:風向きにより、パライソンの片方が締め付け前に冷えてしまいます。
階層化された是正処置
次のフォーマットを正確に使用してください: "1. " 1行ごと、それ以外のものではありません。
予防措置
まず、キャビティ形状に合わせてパリソンプログラマを十分な点数でリゼロし、プロファイルし、キャビティ形状に合わせます。現代のApolloコントローラは多くのプログラムポイントをサポートしているので、粗い4つの点を使用するよりもこれを使用してください。2.次に、金型の隙間を中心にして調節し、4つ以上の位置でフーリーガイドで同心性を確認します。3.ヘッド温度領域を±2℃以内に調整し、校正済みのセンサーで確認します。4.パリソン液滴を低減するために、ヘッド温度を下げたり溶融強度を上げたりします。5.金型の冷却対称性を確認するため、各入口および出口の水温を測定します。
| 症状 | もっとも使用するレイヤー | 対応方法 | 確認 |
|---|---|---|---|
| 片側が薄い、対側は厚い | 設備またはプロセス | 中心ダイの隙間、パリソン用プログラムの確認。 | 磁気厚さゲージ |
| 下部は重い、上部はすっきり | 承認済みのパリソンプログラムを名前付きレシピとしてロックし、オペレータの許可レベルで保護し、あらゆる生産ラウンドの最初の物体で壁分布を再度確認します。金型ヘッド上の周期的な同心性チェックで、ゆっくりとのしみを防ぎます。 | のぼせ具合を高めるためヘッド温度を下げる、上部のプロファイルを上げる | スライスして重さを計ってください |
| 角部分は薄くなり、ドロップテストに失敗します。 | 金型または製造プロセス | ローカルなプログラムの厚みを増やすか、キャビティを確認する | 倒れてみるテスト |
| 切り替えによる漂流 | 機器または環境 | ヘッドゾーンの方向ずれ、シールドの端きれ。 | ゾーンの温度記録 |
パリソンのサグとスイング
パリジョン下垂は、金型が閉閉する前に、重力で押し出されたチューブが垂下したときの伸びです。パリジョン振動は、そのチューブの左右方向の動きです。どちらも、プログラムで計算した壁の分布を変えてしまい、完璧なプログラムでも不良製品が作れる原因となります。下垂は時間とともに増加するため、大きなパーツの長い押し出し処理では、小さなパーツの短い押し出し処理よりも、より大きく下垂します。
視覚的特徴
部品の底部が重いが上部が薄い場合や、ダイを中央に置いた後でも片面だけが片方からもう一方から常に異なる場合。小旋回は、重い面が打撃間の部品周りに回転する回転壁方向変動として表れます。11. 設備に関する問題には、エクストラーダーバレルとスクリューの摩耗、ダイヘッドの同心度、蓄積器の性能、クランプ力の精度、油圧またはサーボの安定性などがあります。設備に関する問題は、隙間全体にわたってゆっくりと変化するか、メンテナンスなどの作業後に段階的に変化することがよくあります。
各層ごとの根本原因を特定する。
材質:低融着強度や高過ぎる溶着流動速度により解像体が伸び、首が長くなります。加工法:温度が高すぎるヘッドで粘度が下がり、押し出し速度が遅くなると解像体に寝かせる時間が短くなり、アキュムレータの排出速度が高すぎると細く伸びます。装置:古くなったり、正しくサイズ設定されていないアキュムレータプログラム。環境:解像体経路に面する風により、チューブが横方向に押されます。これは、開放されたドアやファンの近くによく見られます。
階層化された是正処置
ヘッドの溶融温度を5~10°C下げ、まなざしを観察します。樹脂が許容できる場合は、溶融流動度をより低いグレードに選択するか、溶融強度を上げるため配合をするなどの方法があります。押し出し速度を上げて、品物の挿入時間を短くします。蓄容器の放出量を調整して、品物が管理された速度で押し出し部より離れます。単純なブーラーやカーテンで品物の部位を流し風から保護します。
予防措置
素材ごとに検証済みの溶融温度の範囲を維持し、周辺の気温を記録して季節変動による下垂を早めに検知します。大型部品の場合は、ダイの設計とプログラムでパリソンの上部をあらかじめ厚く加工し、この下垂を補正するようにします。
| 状態 | 原因 | 修正 |
|---|---|---|
| 底が厚く、上部が薄い | 熱による膨張やMFRによる開き。 | 下部ヘッドの温度と平均速度の低下 |
| 重量のある側を回転させる | デッサンからスイング | シールド品台のパーソン路、離出の速度を低くする |
| 長いエクストラクションではさらに悪化します | 時間によるまなざし | 押出速度を上げる |
締まる確率が低いと底部に亀裂が生じる
ピンチオフは、二つの金型の半分の形状部分が下部と分離ラインで圧縮され、プラスチックを溶接し、飛散を剪定することである。ピンチオフが適切であると、底部はきれいにしっかりとしていて、塗りつぶしや落下衝撃などでのひび割れは起こらない。この不備は液体を保管するビンにとって安全性が重要な要素である。
視覚的特徴
下縫いが薄い、多孔質、または繊維状に見える。充填後やドロッテスト中に縫い目に割れが発生する。フラッシュがきれいにカットされず、剥がれてしまうか、縫い目が圧力テストでは漏れることがあります。
各層ごとの根本原因を特定する。
材料:溶融強度の低い樹脂や過剰に再処理した製品は、弱い溶接を引き起こします。プロセス:ピンチエリアが溶融しにくい状態であるか、クランプ速度が適切でないため、溶接が低圧下で行われます。金型:ピンチオフ刃の隙間が0.05~0.1ミリメートルの範囲外にあるか、刃が摩耗して丸くなっています。装置:低圧クランプ保護設定が低すぎるため、溶接中に金型が少し開くことがあります。
階層化された是正処置
まずは、フィーラストリップで刃の隙間を測定します。隙間は約0.05から0.1ミリメートルの範囲にあるはずです。摩耗した刃を再研磨または交換してください。ピンチエリアの温度をわずかに上げて材料が溶着するようにし、フラッシュが生じないようにしてください。クランプ速度と低圧保護を確認することで、溶接が固まった前に型が満タンに到達するようにします。行き場が繊維状に見える場合は、再研磨率を減らしてください。
予防措置
メンテナンスログでトラックナイフの隙間と摩耗を記録し、故障ではなくショット数でナイフの再生を予定します。レシピに最小の溶着温度窓を材質ごとにロックします。
| 症状 | 原因層 | Action |
|---|---|---|
| Porous seam | 金型または製造プロセス | 再成形ナイフ、ピンチ加熱温度を上げる |
| 落下によるクラック | 材料または金型 | 再研磨を減らし、隙間を0.05~0.1mmに調整 |
| フラッシュが切れていない | 金型 | ナイフのシャープ化または交換 |
過度のフラッシュとボルが生じます
フラッシュとは、分離ラインでもみ負けした余ったプラスチックのことで、トリムを削り取って除去します。フラッシュは少しは存在するのですが、厚くなると樹脂が無駄になり、トリマーの負荷が過剰になり、金型が詰まる可能性があります。フラッシュが厚くなっている場合、機械の締め付けとアライメントがずれていると考える必要があります。
視覚的特徴
パーティングラインに重いフランジがある、 裁断に抵抗するフラッシュ、 あるいは、製品のエッジに残るボツ。深刻なケースでは、金型が完全に閉じられなくなり、シームに段差が生じます。
各層ごとの根本原因を特定する。
材料:非常に低い粘度の溶融物は分離ラインに容易に流れ込みます。プロセス:クランプの吹き押し圧力が高すぎるか、パラサイトが中心から偏っており、一方の半分にはより多くの材料が集まっています。金型:分離ライン面が磨耗しているか、平坦性が不良なため溶融物が漏れます。機器:予測ライン部に対する締め付け力が不足しているか、クランプが平行でない。
階層化された是正処置
投射された穴の面積に対するクランプ力を確認します。わずかしかない場合は、機器の制限内で上げるか、穴の数を減らしてください。器用針で接着面の平らさをチェックし、必要ならば再研磨します。配合物の伝播および位置合わせを確認し、管が中心部に着地していることを確認します。フラッシュが高圧だけで発生する場合は、吹き込み圧力を少し下げてください。
予防措置
一個の金型ごとにクリップトンジュールルールを設定しレシピ内に保存する。予防保守計画にパーティングラインの平坦さを加える。そして、金型変更の後に点検すること。
表面の欠陥
表面不良は顧客にとって一番見えるものであり、種類も多い。ざらザラしたサメの皮のような仕上げから、流れ線、オレンジ色の剥離、低照光度、および色のマスターバッチの分散が悪化するまでさまざまであり、大多数は美観上の問題だが、重度の流れ線などでは不良の溶着構造を示す場合もある。
シャークの皮(融解破裂)
ゴマの表面上に生じるのは、金型面に安定しない溶融の流れによって引き起こされる均一なリズミカルな粗さです。金型の隙間が非常に狭い場合、または溶融温度が低すぎる場合に起こります。ライン速度を下げたり、溶融温度を上げて、金型面の仕上げ状態を確認してください。
流れ線
流れ線は、融着しなかった層が生じた跡で、冷たいヘッドや汚れた金型から起因することが多くあります。ヘッドの温度をわずかに上げて金型の地面をきれいにし、改善することができます。また、異なる速度で溶かされる再生物料からも起因することがあるため、注意が必要です。
オレンジの桃肌と低光沢
オレンジの皮状は、成形表面への熱伝達の不良、または過冷却された空洞からくる凹凸のある表面のことです。低い光沢度は、鈍くなっているまたは汚れている成形表面、および湿気または閉じ込められたガスから生じます。空洞を磨き、窓内の成形温度を上げ、換気を改善してください。
色のマスターバッチの分散、
色調の不足は、未着色樹脂の点や模糊が見られることです。通常は、有効レンジ以下の色のマスターバッチ添加や混ぜ時間の短さが原因です。目標の色に応じて1~4%のマスターバッチ添加をし、混合時間をブレンダーで延長し、マスターバッチキャリアがベース樹脂と一致していることを確認します。水分が原因で凝集物が出た場合には、ベース樹脂を乾燥させます。
| 表面の障害 | 最大の原因 | Action |
|---|---|---|
| Shark skin | 型の溶融断裂 | スピードを下げ、溶融温度を上げる |
| 流れ線 | 喧嘩のヘッドまたは汚れた金型 | ヘッド温度を上げて金型をきれいにする |
| オレンジの皮 | 冷たくしたり硬くなった金型 | 金型温度を上昇させ、キャビティを研磨する |
| 色の小さな斑点、 | マスターバッチ混合の不良 | 1~4%の濃度を使い、混合時間を延長する。 |
氷泡と銀色の線
気泡は内部または表面にできた空洞で、酸化エアまたは揮発性物質が蓄積したもの。銀色のストライプは、その揮発性物質が溶融体の流れの方向で膨張し、そこに残した垂直面などの痕跡です。これらは溶融体内の何かが蒸発しているか、それとも空気が蓄積したことの印だということを示しています。
視覚的特徴
表面下に小さな円形の気泡、部品表面に銀色の割れ模様、または斑地に脆弱な部分がある。透明なボトルでは気泡が鮮明に見える。
各層ごとの根本原因を特定する。
材料: 樹脂中の水分、特に吸湿性の高いグレードでは蒸気になる。過高な再生率では空気と揮発物が捕まってしまう。プロセス: 充分な換気がなされず、融着温度が高すぎると劣化やガスが発生する。機器: 有効な真空換気セクションがなくなったスクリューでは揮発物を除去できない。環境: 湿気の多い保管場所では水分が取り込まれる。
階層化された是正処置
使用前にレジンを指定の水分レベルまで乾燥し、ドライヤーが正常に動作していることを確認してください。リグランス比を下げ、リグランドを清潔に保ち、適正なサイズにする必要があります。レジンが劣化している場合は溶融温度を下げてください。材料に必要な場合は、換気部が付いたねじや真空抜き用のねじを使用してください。モールの排気を改善することで、閉じ込められている空気を排出できます。
予防措置
各製品ごとに最大の再粉砕率を設定し、材料ごとに必須の乾燥仕様を定める。乾燥機の露水点と滞留時間を記録し、影響が生じる前に問題が発生しないように管理する。
黒点と炭化
淡色や透明なボトルの最も一般的な不具合は黒い斑点です。目立つだけでなく、汚染を示すため、顧客からの苦情にもなりやすいものです。すっきりしたレジンが熱い金属表面に付着し、溶融した中に浮き出るこの問題はほとんど常に発生します。
視覚的特徴
表面または壁に小さな黒または茶色の点が乏しく、時には炭素臭があります。これらの点は空洞に無作為に現れ、長時間待機したり停止した後に増大します。
各層ごとの根本原因を特定する。
材料:決められた温度で劣化する樹脂。工程:滞留時間にあわせ過ぎた溶融温度。機器:ボンベやダイヘッドに材料の蓄積、止まった状態でスクリューの滞留、および溶融液が停滞するヘッドの死角。環境:パージョンなしの長尺の高温アイドリング。
階層化された是正処置
原料を変えた後や長時間の停止後、バレルとヘッドを浄化合物で洗浄します。樹脂と色に応じて定期的にヘッドの分解と清掃を実施します。待機中の温度を下げたり、休憩中に継続的に浄化を行います。停滞域を作り出す劣化したねじやバレル部品を交換します。マシンを長時間で暖かく空の状態にしないでください。
予防措置
流出調整剤処理およびヘッドクリーニング処理の手順を定めておき、レシピに最高釜滞留時間とアイドル温度をロックしておくこと。これにより、オペレーターが待機中に溶融体を過熱させないよう留めることができる。
白い斑点と溶けずに残った接着剤
白い点滴と未溶解ゲルは、成形品内の未可塑化樹脂の固体または半固体粒に相当します。これらは黒いカケにも似ていると共に、未溶解でないため焼き付いているのではなく、成形品に対して多くの場合、ミルク色の輝く塊として認識されます。
視覚的特徴
壁面に乳化白または半透明な結節、粗面、または圧力で割れやすい部分がある。新たに粉砕した物質または充填用マスターバッチが混合されていない場合にこれらが多く見られる。
各層ごとの根本原因を特定する。
材料:相性の悪い混合物または大規模な再加工粉末。プロセス:低回転数、低還元圧力、または滞在時間が短いため、プラスチカチングが不十分。装置:材料に適した圧縮比が正しく設定されていないスクリューや、L/Dが低すぎたり、使用中のスクリューの歯が摩耗して削断作用ができない。環境:溶融が遅くなる冷たい送料口。
階層化された是正処置
シャーおよび混合を改善するために、溶融温度の制限内でねじの回転速度と背圧を上方に調節しましょう。ねじの圧縮比とL/Dが材料に適合していることを確認してください。高い圧縮比は硬いブレンドを改善するのに役立ちます。リグランドを一貫したサイズにスクリーンし、よくブレンドしてください。堅い材料でゲルが残っている場合は、そのレジンに適したねじを検討してください。
予防措置
スクレワーと材料のマトリクスを保ち、各樹脂ファミリーに適切なスクレワーを使用する。初期部品とあらゆる材料変更後のプラスチフィング品質を記録する。
収縮と歪み
収縮は冷却と結晶化により部品の小さくなることであり、歪みは形状が歪むことです。いずれも部品の冷却と材質の結晶化行動に関連しており、いずれも部品が型から出た後におこります。
視覚的特徴
部品がキャビティよりも小さな場合、ネックが楕円形になった場合、基盤が凹んでいる場合、または本体が曲がっている場合、キャビティによっては押し出しで合格するものの、後縮による測定で24時間後に不合格となることがあります。
各層ごとの根本原因を特定する。
材料:結晶率の高いグレードは収縮しやすく、変形しやすくなります。工程:冷却時間が短すぎる、金型の水温がチャネル間で不均等である、または高温状態で解剖。金型:ブロックされた冷却ラインまたは不均衡な冷却ライン、あるいは、ストレスが蓄積したキャビティ。環境:季節ごとに変動する冷却水温。
階層化された是正処置
冷却時間を延ばし、設定温度以下で部品を天然成形させます。各チャネルの金型からの水の入口および出口の温度を測定し、それらを均等に表示します。結晶性素材の場合、最終測定および梱包前に最大24時間の後引締窓を設定します。熱伝達を安定させるために、冷却チャネルを定期的に清掃します。
予防措置
材料ごとに冷却時間と脱型時の温度を定めて固定しましょう。冷却路を定期的に刷洗し、水の温度をグラフ記録装置で監視しましょう。
容積と重量が許容外にある
容積と重量の管理は、使用する樹脂の量と、部品が埋入率や積み重なり上の製品仕様を満たすかに関係します。100万個あたりで1グラム重い部品は大きな潜在コストとなります。
視覚的特徴
部品の重量が上下に変化し、充填ラインが変化するか、閉合時に部品が座らなくなる。変化は通常は緩やかだが、材料のロットを変更した場合に急激に発生することがある。
各層ごとの根本原因を特定する。
05 〜
階層化された是正処置
固定間隔でチェックスケールを使用してパライソン重量制御を実行し、可能であればウェイングフィードバックシステムでループを完了します。シャットアウトごとに重さを測定することでスクリュメータの安定性を確認します。樹脂のロット密度を記録し、密度が変化したときにプログラムを調整します。マシンセンサーの近辺で周囲温度を安定させます。
予防措置
部品重量に対して統計的なプロセス制御ポイントを設定し、許容範囲を超えないようにトレンドに対応する。
スレッドと首部の欠陥
ボトルのネックとスレッドは機能的な密閉面となりますので、ここが欠陥があると、ボディが完璧であっても漏れや不良締めの原因になります。
視覚的特徴
締め根が不完全または平らになった場合、ネックが楕円形になった場合、打強ピンによる傷が付いた場合、または継ぎが短過ぎる場合、部品がキャップに適合しなくなる可能性があります。
各層ごとの根本原因を特定する。
材料: 低融解強度のためにスレーブの形状を維持できない。 プロセス: ブローピンが不正確にセンターに配置されているか、ネックカットのタイミングが誤っているか、またはフィニッシュ時の充填不足。 金型: ネックインサートが劣化したか、ブローピンが不正確に位置しています、またはスレッドのベンティングが不適切である。 設備: ネックの歪みを引き起こすクランプの位置が異なっている。
階層化された是正処置
ブローポンを中心に配置し、それが首側に垂直であることを確認します。ネックカット時期を確認して、糸が完全に形成されることを確認します。ネックインサートを検査し、必要であれば修復します。糸が短い場合は、仕上げ時に一瞬インフレーション圧を上げます。クランプの調整を確認し、楕円形の首部分が生じないようにします。
予防措置
第一工程および定期検査時にネック用糸ガイドを使用し、ブローポインアラインメントをレシピに保存します。
漏れと耐圧性能障害
漏れおよび圧力不全は最後の機能試験です。部品は正常に見えている場合でも、薄い壁、弱い溶接、または不十分な複層接合部のいずれかにより漏れが生じることがあります。
視覚的特徴
部品は水または空気の圧力試験に失敗し、接合縫この辺りや下部の縫い目の辺りから漏れ出したり、荷重下で倒壊したりします。失敗はしばしば細い肩部分や下部の縫い目の周辺に集中します。
各層ごとの根本原因を特定する。
15 MPa で行われ、部品は破損や漏れなくその値を維持できる必要があります。
階層化された是正処置
厚さゲージで薄い部分を探し、パライソンプログラムを修正します。前のセクションで説明したピンチオフアクションを使用して底溝溶接を再構築します。サンプルで0.05〜0.15MPaの気密試験を実施し、それらの原因となった孔を見つけます。多層部品の場合、層間接着を確認します。
予防措置
0.05~0.15 MPaで空気漏れを検査し、製品ごとに必ず100%または統計的なチェックを行い、空洞ごとに故障率の傾向を調べる。
マルチレイヤー共押出特性の欠陥
多層共押出は、構造層内にEVOHなどのバリア層を加え、保存期間を延ばします。多層では、単層部品には見られない欠陥が発生し、さらに厳しい温度管理が必要となります。
レイヤー層離れ
分離層は、切断された端や雲らついた境界面から見られるもので、層間の接着不良、タイ層比の誤り、または汚染された境界面が原因です。正しいタイ層または接着層を使用し、境界面をきれいに保つことが重要です。
レイヤーの厚さの変化
個々のエクストルーダ出力が均衡していないと、各層の厚みがずれます。マイクロトームスライスと厚み測定で層のバランスを監視し、各エクストルーダのメータリングを調整します。
EVOH バリアの不連続性
EVOHは湿気に敏感で、処理窓は狭くなっています。温度が高すぎると劣化し、低すぎると破損してバリアが破れます。EVOHを処理窓内に保ち、押出し処理前に湿気にさらしてしまわないようにしましょう。
テー層温度ウィンドウ
粘着層は接着できるほど熱くなければならないが、障壁を破壊するほど高温ではいけない。各構造ごとにつなぎ層の温度範囲を確認し、レシピで固定しておく必要があります。狭い範囲は障壁の障害が間欠的に発生する主な原因です。2. 材料:樹脂ロット間の密度バッチのばらつきから、同じ体積で重量が変わる。工程:映像重量が制御されない、またはスレッドメーターが不安定。装置:パルスを発生させるメーター区間、または使用されていないスケールフィードバック。環境:溶融密度が変動する室温。3. 材料:リグレンまたは低い溶融強度から生じる弱い溶接。工程:薄い壁のポイント、間違った吹き込み圧力、または粘着不良。成形器:壁を破壊するひき詰め部が摩耗しているか、または換気口がつまっている。装置:接着かたまりの圧縮重量が低い。標準の気密試験は
| 瑕疵 | 原因 | 制御。 |
|---|---|---|
| 分離 | 結合の付着不良 | 正しいタイ層、きれいなインターフェイス |
| レイヤード偏差 | バランスのとれていないエクストラーダ | スライスチェック、チューニング測定 |
| EVOH break | ウインドウ違反 | EVOH温度窓のロック |
試験および定量化方法
測定しないものは改善できません。現代的なEBM品質プログラムは、高速インラインチェックと、欠陥の量化と改善の証明を行う定期的な実験室検査を組み合わせています。
磁気厚さゲージ
メガネ厚さゲージは、複数の点で数秒で成形品の壁の厚みを読み取ることができます。これは、不均一な壁と薄い部分の調査のための最初のツールであり、まずはどのパーツにも使用する必要があります。
スライスおよび重量測定方法
定義された平面で部品を切断し、切り取った部分の重量を計測して平均壁の値を算出します。これにより、計測器の正当性を確認し、単一の点単位の読み取りよりも精密に分布を把握できます。
墜落試験と垂直荷重
突き落下テストで指定された高さと温度で衝撃強度が証明されます。垂直荷重テストで上面積載強度が証明されます。両テストとも合格または不合格とし、キャビティごとにトレンド化すべきです。
OTR と WVTR
バリア層の製品では、酸素透過率と水蒸気透過率を測定して、EVOHやバリア層の性能を確認します。これらは、層構造に合わせてサンプルの頻度を調整したラボでの検査です。
CTスキャンと色差
コンピュータ断層トモグラフィや断面切片により、内部の空洞、溶接の品質、層構造などが解析対象を破壊することなく明らかになります。色の違いはΔE (デルタ・イー) として表され、マスターバッチの違いによる色調の変化を定量化することで、化粧品に関する主張が客観的になります。
| 方法 | 対策 | 用途 |
|---|---|---|
| 磁気厚さゲージ | ある時点での壁。 | 不均一な壁、薄い部分 |
| スライスして重さを計ってください | 平均壁 | 配布の確認 |
| 突き落下テスト、垂直荷重テスト | 衝撃、スタック | ボトム、構造 |
| OTR, WVTR | バリアー率 | 正確に次の形式で記入してください。"1. " これは、単一行のみに対応しています。その他のものではありません。 |
| CT またはスライス、デルタ E | 内部、色 | 空孔、陰影の漂流。 |
欠陥の優先順位付けフロー図
製品に欠陥が見つかったとき、三つの質問に答えてください。理由をくまなく分析し、ランダムな変数の変更を防止します。
質問1:単一の空洞か全ての空洞
ただ一つのキャビティが不合格になる場合は、まず金型を調べること。ナイフが磨耗している、冷却が途絶している、打強ピンが位置しすぎている、またはキャビティが損傷している場合です。すべてのキャビティが一緒に不合格になる場合は、原因は金型ではなく材料、工程、設備、環境です。
質問 2: 材料変更後に出現
レジン、マスターバッチ、またはリグリンドの変更直後に不具合が生じた場合、まず、素材(水分、溶融流動率、粒度、相性)を確認します。マシンに触れる前に、新しいロットの仕様を確認してください。
質問三:時間が経つと漂い出す、または急に段階が変わる
異常がシフト間でゆっくりと変化している場合は、装置の劣化、ヘッド領域のずれ、または環境の変化を疑います。突然変化した場合は、プロセスセットポイントの変更、メンテナンスイベント、または停止時の部品交換を疑います。
| Branch | 回答 | 最初にチェックすべき項目 |
|---|---|---|
| 単一対すべて。 | 単孔 | 金型 |
| 単一対すべて。 | すべての空隙 | 素材、プロセス、装置 |
| 変更後の状態 | はい | 素材ロット |
| Drift vs step | 浮球化 | 設備・環境 |
| Drift vs step | 手順 | セットポイント、メンテナンス |
欠陥に厳しい生産用アポロマシンシリーズ
適切なマシンは、不良発生の根本原因を源にリダクティングします。Wanplasの工場であるアポロでは、80種類以上の製品からなる10のシリーズを製造しており、3つのモデルは多くの工場が不良に対して敏感である上位階階層で、製品ごとの正確な数値は構成により異なるため、注文時には必ず確認が必要です。表には、実際の容量クラスと前文に記述した不良をコントロールするアーキテクチャが示されています。
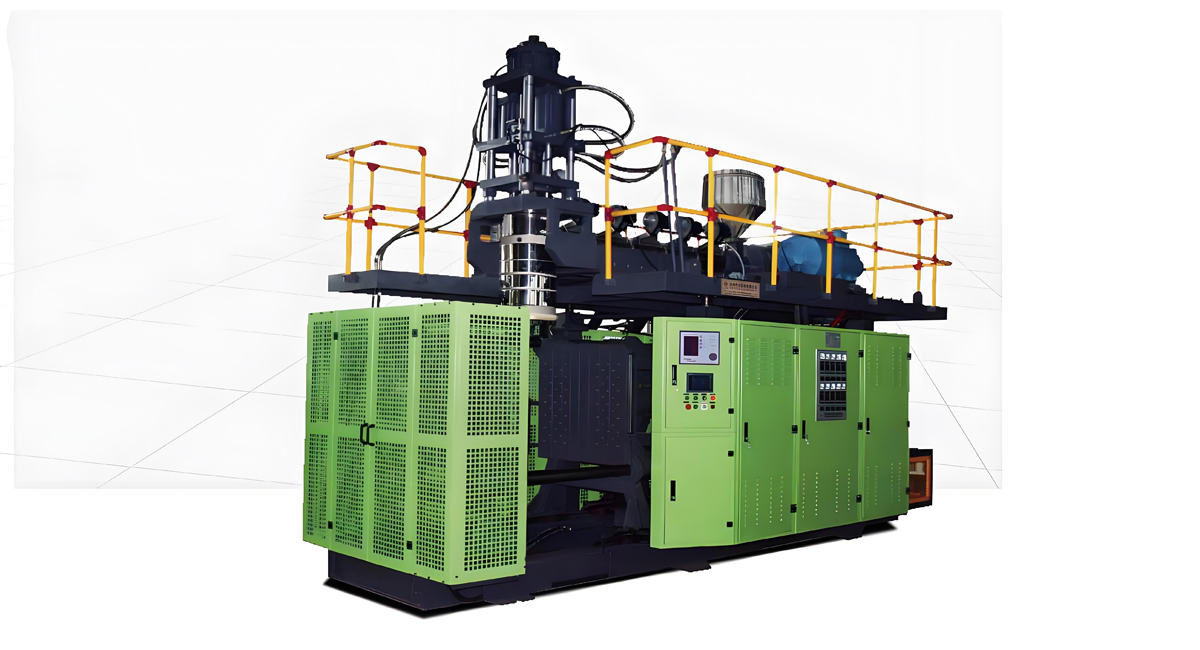
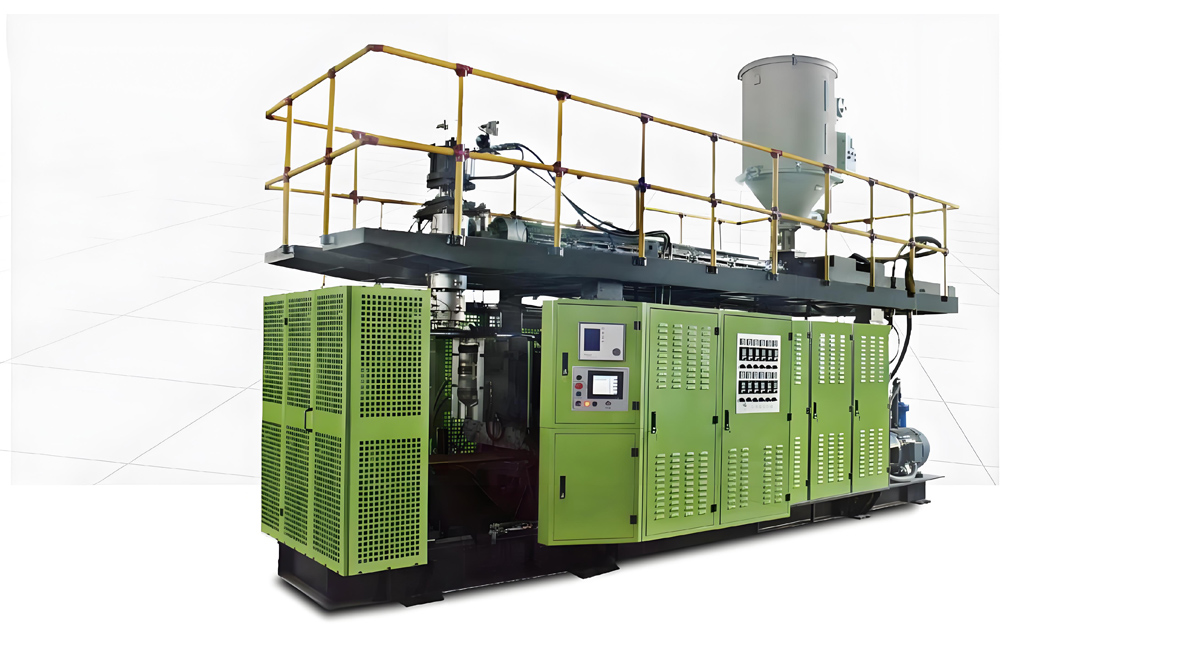
ABLB シリーズ(200 ml から 20 L まで)
ABLBシリーズは200ミリリットルから20リットルのコンテナーの標準エクストルジョンブローモールングラインで、ファミリー内に8種類のマシンがあります。正確なパリションプログラミングと安定したヘッド温度制御により、不均一な壁とパリソンの垂れを直接対処します。PE、PP、PVC、PA、PC、ABS、PS、EVA、TPU、PETGを処理することができます。
| 仕様 | ABLB シリーズ (典型的なクラス範囲) | 注記 |
|---|---|---|
| コンテナのボリューム範囲 | 0.2 to 20 L | 実際のプロファイル範囲 |
| ファミリーのマシンタイプ | 8 | 実質プロファイル数 |
| 型締力 | モデルごとのクラス範囲、各注文ごとに確認 | フラッシュを制御するために予測面積に基づく |
| スクリュー径 | モデルごとのクラス範囲、各注文ごとに確認 | 出力および素材にマーチング |
| L/D ratio | モデルごとのクラス範囲、各注文ごとに確認 | プラスチナイジング品質を向上させる |
| インストール電力 | モデルごとのクラス範囲、各注文ごとに確認 | 選択のタイプによる |
| 出力量 | モデルとキャビティ数ごとに | 工場でテストにより有効性が確認されます |
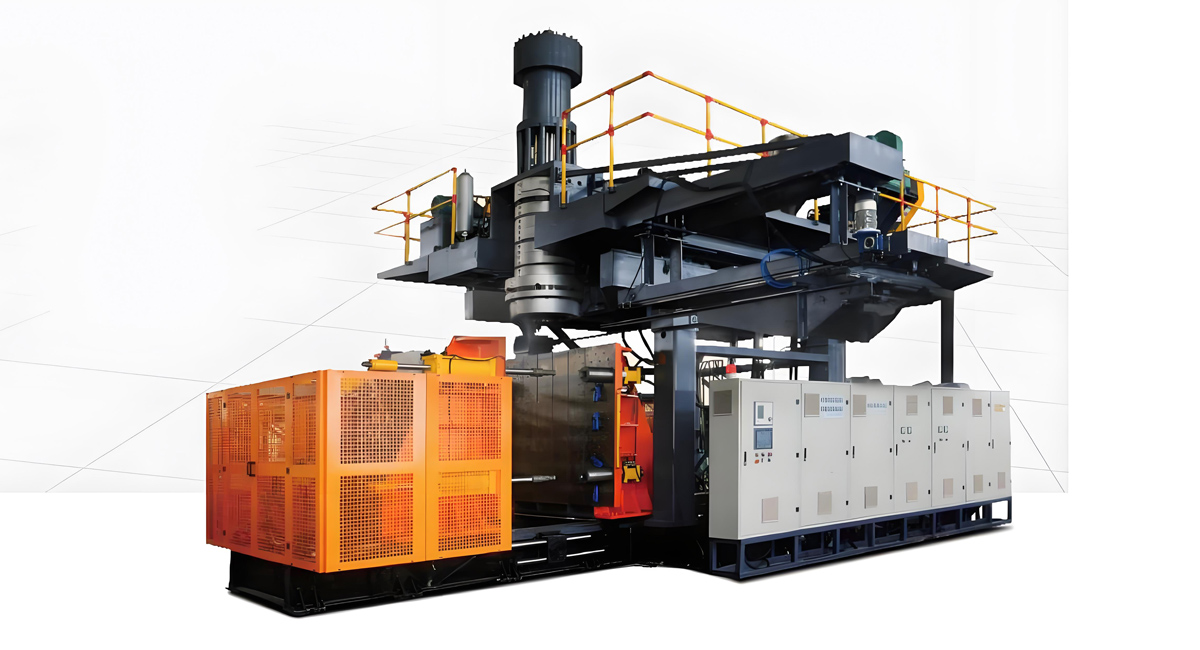
ABLDシリーズ,20〜1500リットル
ABLD シリーズは、20リットルから1500リットルまでの大型容器や産業部品向け、3種類の機械タイプを備えた、重量級モデルです。蓄圧式アクチュエータとクランプ構造により、壁面制御が困難な非常に大きなパーツの歪みや切断時の隙間を効果的に排除できます。コンピュータ断層解析法または断面シートによって、内部の空隙や溶接の品質、層構造を破壊することなく解析価値を明らかにすることができます。色相差、ΔE として報告される測定値を用いることで、マスターバッチの変動による色相の移行を客観的に定量化し、化粧品メーカーの主張を裏付けることができます。
| 仕様 | ABLDシリーズ(代表的なクラス範囲) | 注記 |
|---|---|---|
| コンテナのボリューム範囲 | 20 ~ 1500 L | 実際のプロファイル範囲 |
| ファミリーのマシンタイプ | 3 | 実質プロファイル数 |
| 型締力 | モデルごとのクラス範囲、各注文ごとに確認 | 大型印刷部品のフラッシュ機能 |
| スクリュー径 | モデルごとのクラス範囲、各注文ごとに確認 | 高処理能力向けに大きな |
| L/D ratio | モデルごとのクラス範囲、各注文ごとに確認 | 安定したプラスチケーション |
| インストール電力 | モデルごとのクラス範囲、各注文ごとに確認 | 選択のタイプによる |
| 出力量 | モデルとキャビティ数ごとに | 工場でテストにより有効性が確認されます |
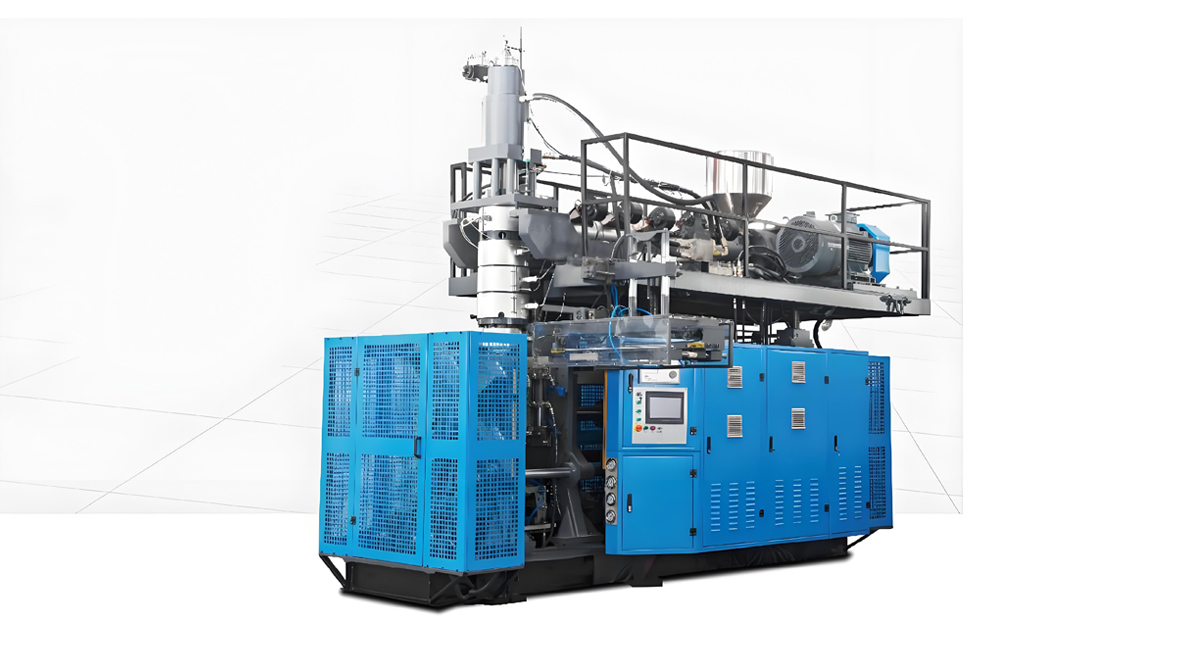
フル電動シリーズ。200ミリリットルから20リットルまで
電動シリーズは200ミリリットルから20リットルまで、ハイドロリリックシステムを使用せずに対応しています。電動クランプとトランスファーにより、振幅を低減し壁の一貫性を向上させる、繰返し可能で低振動の動きが可能になり、環境要求が厳しい工場に適しています。アポロの年間生産能力は各ライン合わせて約100セットで、90カ国以上で4,000セット以上稼働しています。
| 仕様 | 全電気モデル(典型的なクラスの範囲) | 注記 |
|---|---|---|
| コンテナのボリューム範囲 | 0.2 to 20 L | 実際のプロファイル範囲 |
| ドライブ | 完全に電動、油圧なし | 低振動で清潔 |
| 型締力 | モデルごとのクラス範囲、各注文ごとに確認 | 繰り返し可能トン数 |
| スクリュー径 | モデルごとのクラス範囲、各注文ごとに確認 | 材質に合わせた選択 |
| L/D ratio | モデルごとのクラス範囲、各注文ごとに確認 | 塗膜制御 |
| インストール電力 | モデルごとのクラス範囲、各注文ごとに確認 | エネルギー効率に優れている |
| 出力量 | モデルとキャビティ数ごとに | 工場でテストにより有効性が確認されます |
適用分野と最終製品
アポロの機械は、食品・飲料、日用化学品、化学産業、建設資材、医薬品、自動車製造、交通機関、および文化・スポーツ市場を対象としています。いずれの最終製品においても、異なる欠陥を優先するため、同一の機械をアプリケーションごとに異なる設定に調整することが行われています。
- 食品と飲料:漏えいや独自の臭いがない壁が重要となる場合、ピンチオフとバリアの品質が極めて重要となります。
- 日用化学品:洗剤、シャンプー、クリーナーなどのボトル。表面の光沢と色の一貫性は顧客が直接確認できる欠陥となります。
- 化学工業:壁面の均一性と耐薬品性が最も重要となる穀害およびドラム
- 建築材料: プロファイルと空中コンポーネントでは、寸法安定性とねじ曲げ制御が重要です。
- 医薬品および医療関係:厳格な衛生管理下で使用される容器において、黒い点や掃除しにくさは論ずることなく除外されます。
- 自動車業界と輸送分野:圧力耐性と耐衝撃性がテストで確認されたパイプ、タンク、タンク
- 文化およびスポーツ:ボール、浮力、ギア。壁の対称性はバランスと安全性に影響します。
厳しい食品安全基準や医療用品の基準が適用されており、FDA、EU 10/2011、ISOなどが適用されています。ご目的地にあった製品の性能と市場の要件に合わせた確認が必要です。開発終了前にご出資者のご希望先に照準を合わせた特定の製品認証をご確認ください。
モデル選択表への要件
本表を使用して、生産要件と実際のアポロシリーズを割り当てます。これは出発点であり、工場は図面、材料、および出力目標を確認した後、正確なモデルとネジを確認します。
| 要件 | おすすめシリーズ | なぜか |
|---|---|---|
| 0.2 ~ 20 L のボトル、一般 | ABLB シリーズ | 標準的で実績のある、8 種類 |
| 0.2~20 L、清浄環境 | 全電動シリーズ | 治具不要、低振動 |
| 20~1500Lのドラムまたはタンク | ABLD シリーズ | 頑丈な蓄電容器クランプ |
| バリア食品または医療用 | 共押出によるABLBまたはABLD | マルチレイヤーの EVOH 機能 |
| しっかりした壁制御、高速 | 全電動シリーズ | 再現可能なモーション、少ないトレードオフ |
| PVCまたはエンジニアリング樹脂 | ABLB シリーズ | 幅広い材料との互換性 |
予防保全と工程内のロック
一番安い欠陥は、誰もが惹きつけられないものです。2つのシステムが、トラブルシューティングを防火活動から制御へ変えます。予防保守とロックされたプロセスウィンドウです。
統計的プロセスコントロール点
部品重量、薄い箇所の壁、ネック寸法、漏れ試験結果にコントロールポイントを設定し、部品内の空洞ごとにチャート化して推移を観察できます。重量に関する簡単なXバーチャートは、廃棄品が現れる数日前からネジ計量の偏差を確認できます。
最初の部品の検査
すべての生産ラウンドは,最初の部品のチェックから始まります。定義されたポイントでの厚み計測,ドロプテスト,視覚的表面,そしてネックゲージがあります。サイン済みの最初の部品記録があることなしには,どのラウンドも始まりません。それだけでも,ほとんどのドリフト欠陥を排除することができます。
パラメータのロックと許可
認められたレシピには、名前、バージョン番号、およびロックが付与されます。オペレータはレシピを呼び出すことができますが、上司のパスワードがない限り、セットポイントも変更できません。これにより、1ヶ月で10回ほど微調整を繰り返すと、適正外にずれるという問題を解決します。親ブランドWanplasは、専門業務を行っている各工場において、同じ品質基準を適用しています。
予定された保守作業
カレンダーに基づいたタスクは、仕切りに基づいたタスクよりも効率的です。例えば、ホースの頭部を清掃する、銃口数によってナイフを再研磨する、冷却チャンネルを洗浄する、ネジと缶の摩耗を確認する、毎変更時に清掃手順を実行するなどです。マシンにログを保存しておくことで、次のシフトの担当者も記録を引き継いで作業をできるようにしましょう。
サービスとサポート
続く生産性を重視したサービスプログラムを備えるWanplas工場のアポロマシン。各マシンは、出荷前に工場で検査およびテストされ、エンジニアは設置と試運転のため現地に赴き、初回の稼動は検証済みの範囲内に収められます。Wanplasのグループポリシーでは、年間500米ドルの無償部品が付与されており、これにより大きな予備費用のショックを受けることなくラインを稼働することができます。追加サポートでは、金型や電圧のカスタマイズ、立ち上げ後の利用状況の追跡、予期せぬ顧客訪問、品質の規格を満たさない場合の返金と10パーセントの補償による品質保証などが含まれています。
本ガイドの操作、保守、トラブルシューティング手順に関してトレーニングを提供しています。リモートによる運用サポートでは、工場からコントローラーのデータを確認し、パラメータの歪みについて遠隔で相談ができます。オープンファクトリー方針では、ご来館、製造の監査、実際のライン上でのサンプル実験、後発注に関する計画・着手前の段階で生産工程をご確認いただけます。
よくある質問
ブロー成形ボトルの壁厚が不均一なのはなぜですか?
不均一な壁厚の原因は、パリションの厚さのプログラムの誤り、金型の隙間異心、ヘッド温度の範囲の外による陽差、パリション弯曲、または金型の冷却の不均一性などです。まず、パリソンプログラマーを再ゼロ化し、金型の隙間を揃え、金型の冷却を均一にします。次に、金型の薄い箇所と厚い箇所で磁気厚さゲージで確認します。
エキストルジション ブローモールディング時のパリションの沈み込みと振れは、何が原因ですか。
3次打鋲のゆるみは、低い溶融強度、高すぎる溶融流動度、過熱したヘッド、ゆっくりな押出し、または過速の蓄電容器放電の結果です。3次打鋲部周辺の気流が原因でゆるみが強まります。溶融温度を下げ、溶融流動度を減らし、押出し速度を高め、3次打鋲の経路を気流から保護してください。
ピンチオフ不具合と底部割れをどう修正しますか?
ピンチオフのナイフ刃の隙間を確認します。隙間の幅は0.05~0.1ミリ程度になるべきです。ナイフの劣化を検査し、クランプ速度と低圧保護機能を確認し、ピンチエリアの温度を確認します。劣化したまたは隙間のあるナイフは、溶接が弱くなり、下部にクラックが発生するため、ナイフを再研磨または交換し、隙間内でピンチ温度を上げます。
EBM 機械でフラッシュがどうしてあまりにも厚くなってしまうのか
フラッシュが起きる原因として、プロジェクション面の締め付け力が不足していること、分離ラインが平らになっていないこと、金型表面が摩耗していること、またはパライソンの位置が不適切であることが考えられます。フラッシュが発生する場合は、締め付け段数を確認し、分離ラインを再研磨し、パライソンの移動位置を中央に合わせ、ヘッド圧をわずかに下げるなどの対応を行います。
ブロー成形部品の黒点やカーボン化を防ぐにはどうすればよいですか?
黒色の斑点は、槽またはヘッド内の材料の蓄積、停止時のネジの滞留、および劣化した樹脂から生じます。変更時と長い停止後にパージ化合物を使用し、定期的なヘッドの分解洗浄を行い、劣化したプラスチックが溶融物の中にフラッキングしないように長時間の高温運転を回避してください。
どのアポロマシンを選んだらよいか
200ミリリットルから20リットルの容器にはABLBまたは全電動シリーズ、20~1500リットルの大容器の産業用パーツにはABLDシリーズをお選びください。ガイドの前半部分の選択表に適切な容量と材質、出力を確認し、絵図と樹脂を用いて工場に確認してください。
ブロー成形ボトルに対して漏れ検査で使用すべき空気圧はどのくらいですか?
標準的な気密試験は、部品の壁と設計に応じて、0.05から0.15 MPaで行われます。その圧力で試料や100%の試験を実施し、漏れをその原因となった配管に追跡して、前述の部品厚さ計と必要な場所の取囲チェックを使用して、薄い壁や弱い底部溶接箇所に障害をリンクします。
結論
吹き型成形における不具合は、一度ならではの構造をそれらすべてに適用すると、謎のものではなくなります。現象を記述し、視覚的特徴を読み解き、材料、プロセス、金型、機器、環境から根本原因を分析し、最も迅速な改善措置をまず実施して、予防策を講じます。本ガイドで示される不具合のカタログは、不均一な壁やパリゾンの傾き、切断、フラッシュ、表面の損傷、泡、黒点、ゲル、縮み、重量の脱漏、首部分、漏れ、複数のバリアの不具合など、あらゆるEBM工場における現場状態での参考情報として役立ちます。
Wanplasの工場であるアポロは、より20年の経験、8,000平方メートルの工場面積、90ヵ国以上の9,000台を超えるマシンに取り組んで、正確なパジオントルクコントロール、安定したヘッド温度、確実なクランプ動作を実現しつつ、繰り返し可能な不具合の修正を行っています。 繰り返される不良を克服しているか、新しい容器を計画している場合は、製品図面、樹脂、および出力目標を提示し、カスタマイズされた設定について相談すること、工場の査察を依頼すること、または実際のライン上でサンプルトライアルを依頼することができます。 チームは、お客様の部品を分析して、適切なモデルと工程ウィンドウを提案し、スクラップを利益に変えてくれます。